How to Add a New Contact
How To Add New Student Enrollments In Market Muscles
Learn how to manually register new students by navigating the contact management dashboard. This guide walks you through the steps to input new lead profile information.
1. Navigate to https://app.marketmuscles.com/
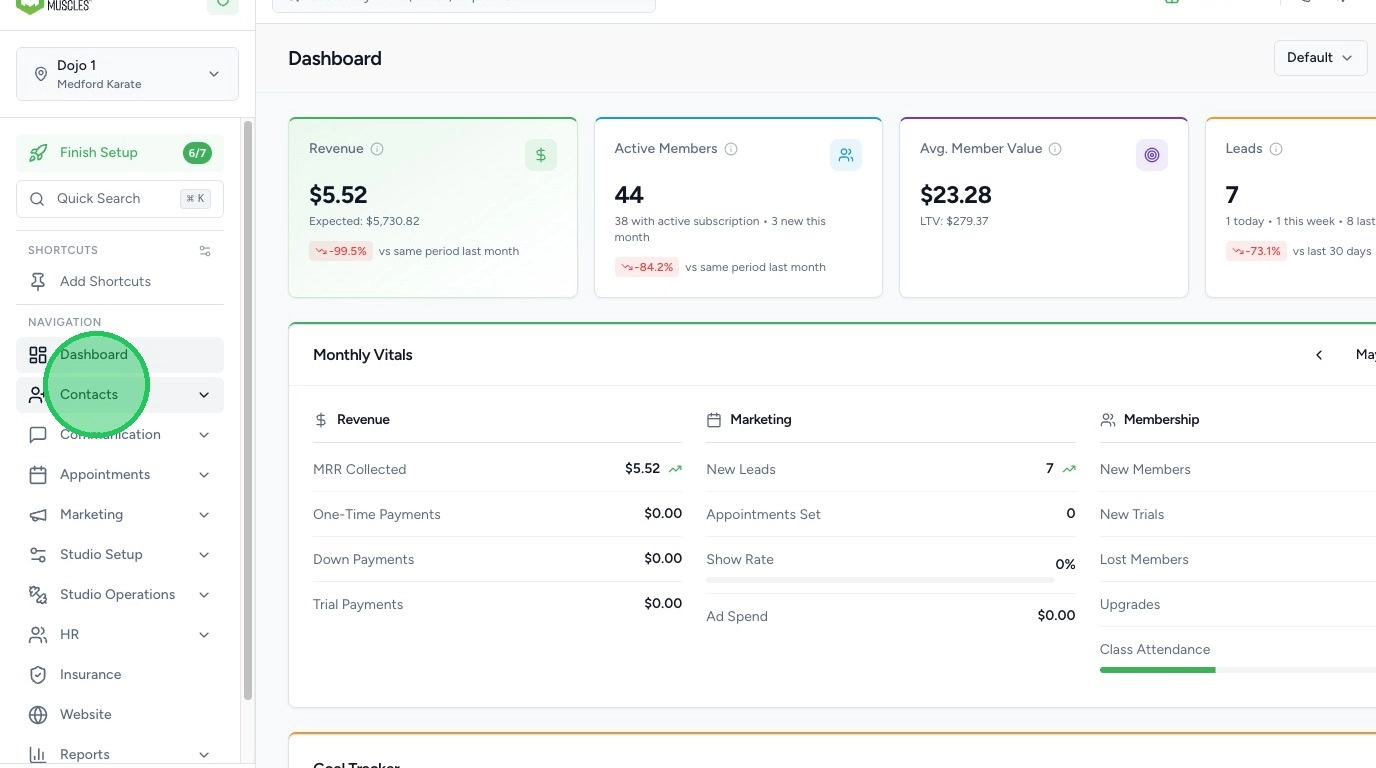
2. Navigate to Contacts
Click Contacts in the left-hand navigation menu, then select Overview. This opens the main contact management table.
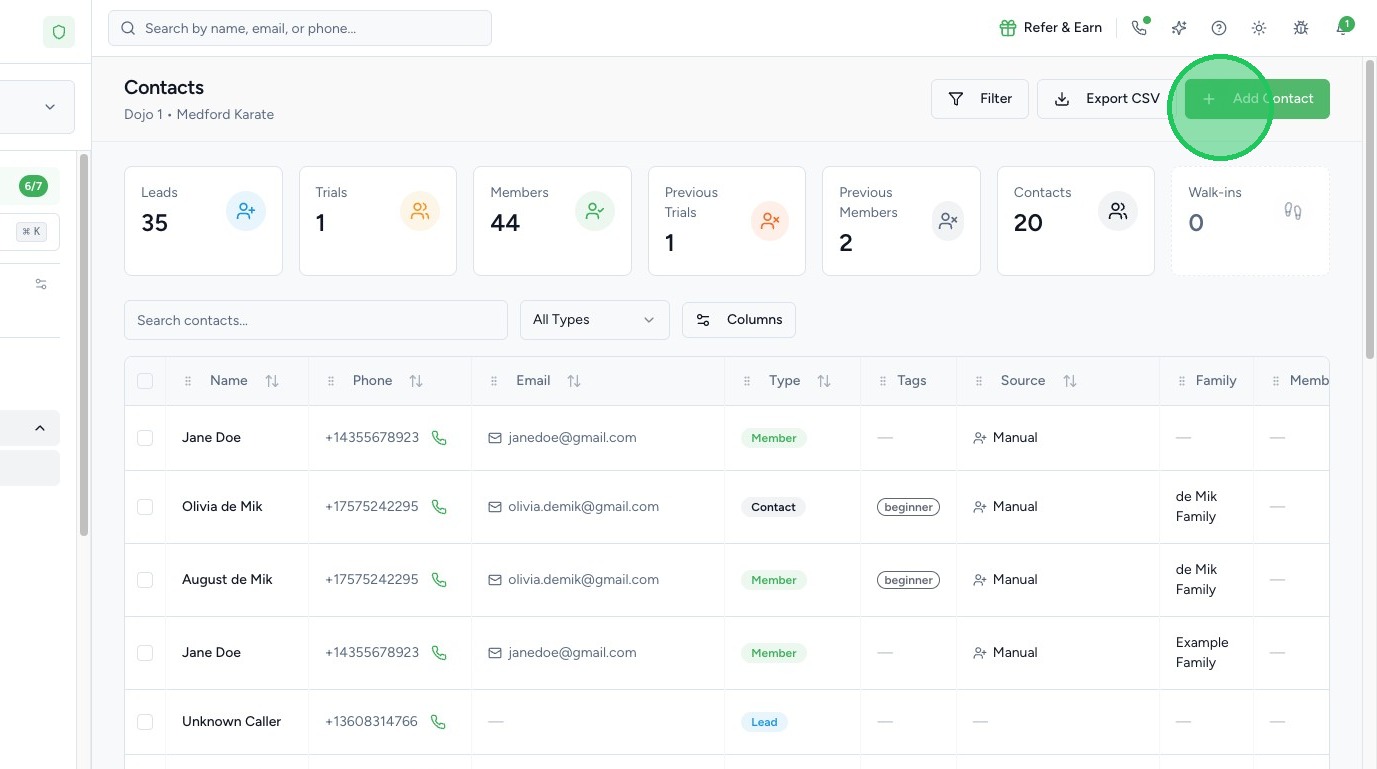
3. Click Add Contact
Click the + Add Contact button in the top-right corner of the page. A new contact form will slide open on the right side of the screen.
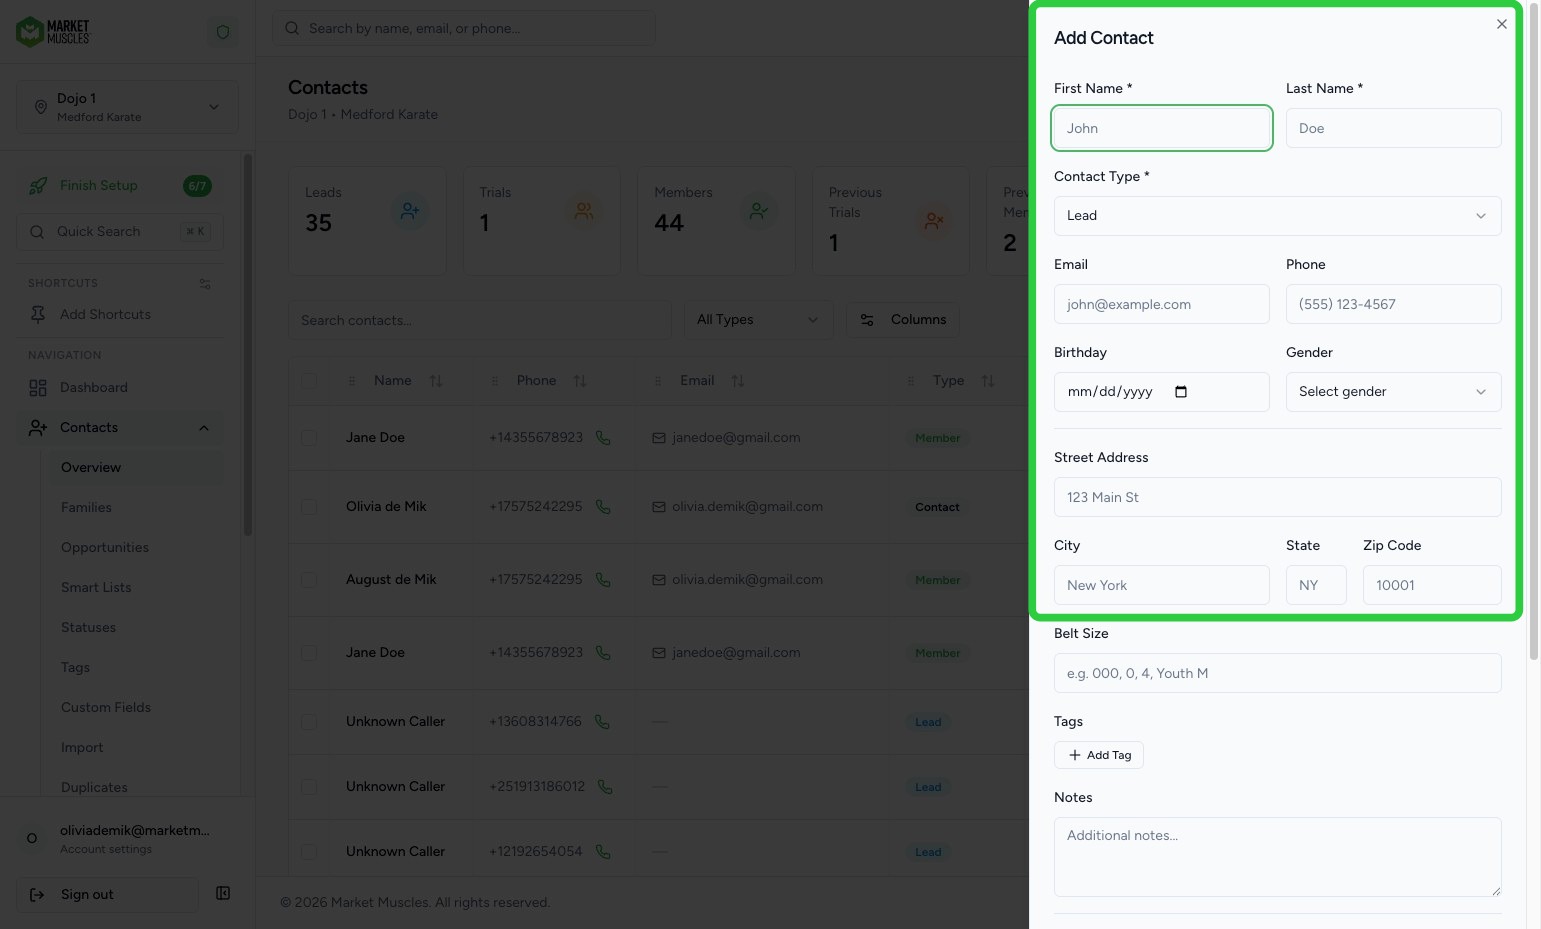
4. Enter Basic Information
Fill in the contact's core details:
- First Name and Last Name — the contact's full name (required)
- Contact Type — select the appropriate type from the dropdown (required). Options include Lead, Trial, Member, Contact, and Walk-in
- Email — primary email address for communication
- Phone — primary phone number for SMS and calls
- Birthday — used for age calculation and birthday automations
- Gender — select the contact's gender from the dropdown
- Address — the contact's primary street address; complete all fields
5. Add Tags
Click + Add Tag to apply one or more tags to organize and segment the contact. Tags are flexible labels you can use for anything — for example:
- Program interest (e.g., "Kids BJJ", "Adult Kickboxing")
- Lead status (e.g., "Hot Lead", "Follow Up")
- Event attendees (e.g., "Summer Camp 2026")
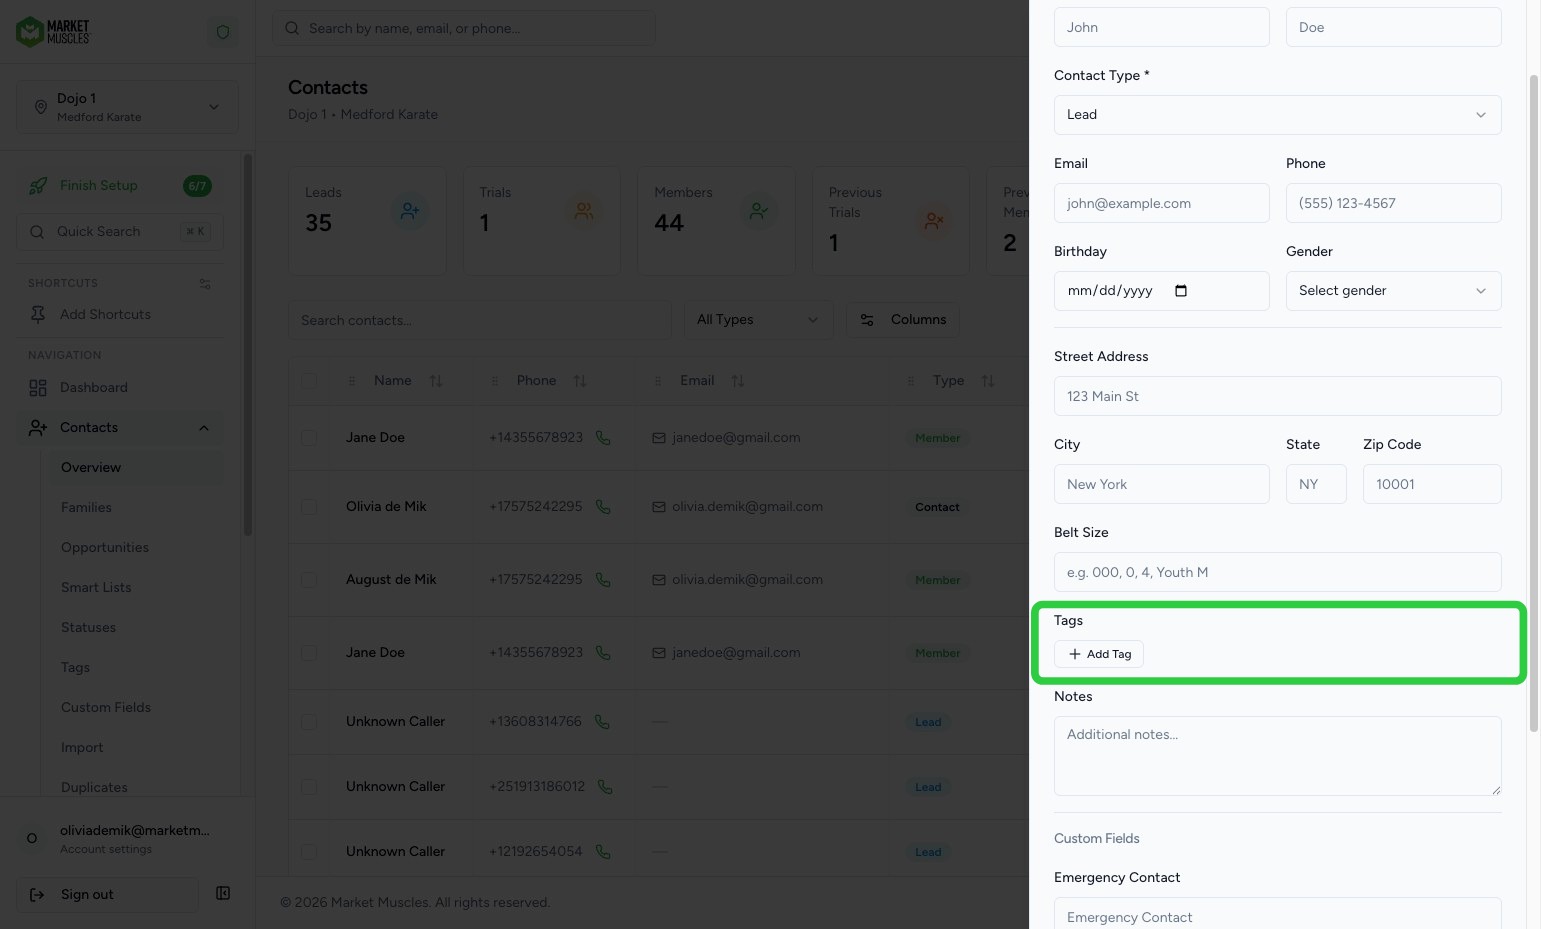
6. Add Notes
Use the Notes field to add any additional context about the contact, such as how they heard about your studio, special requests, or follow-up reminders.
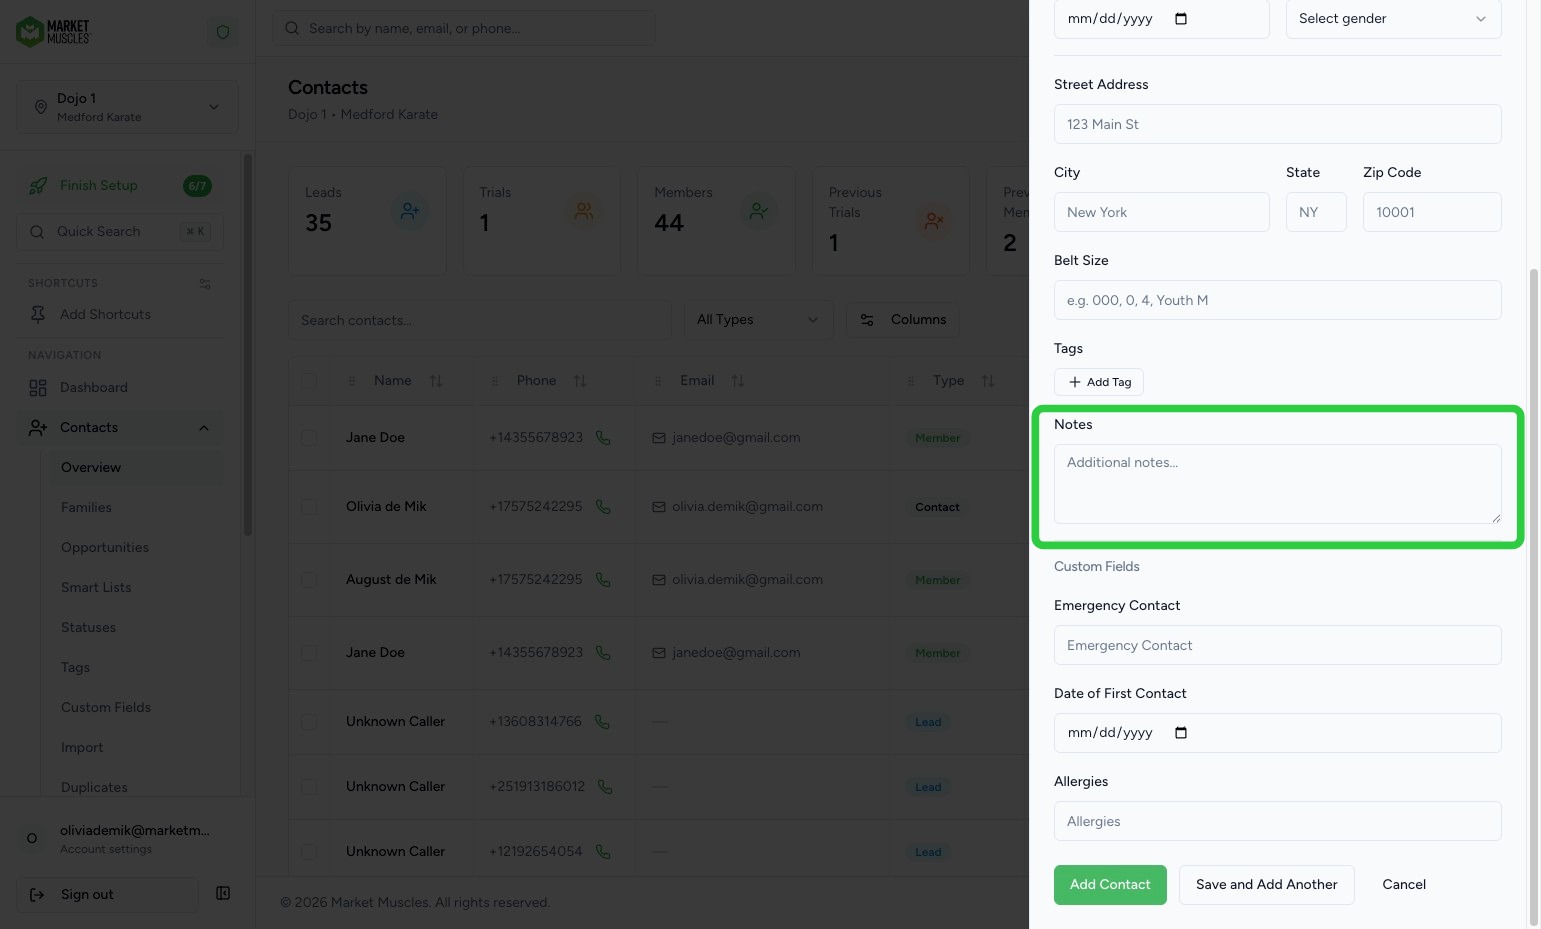
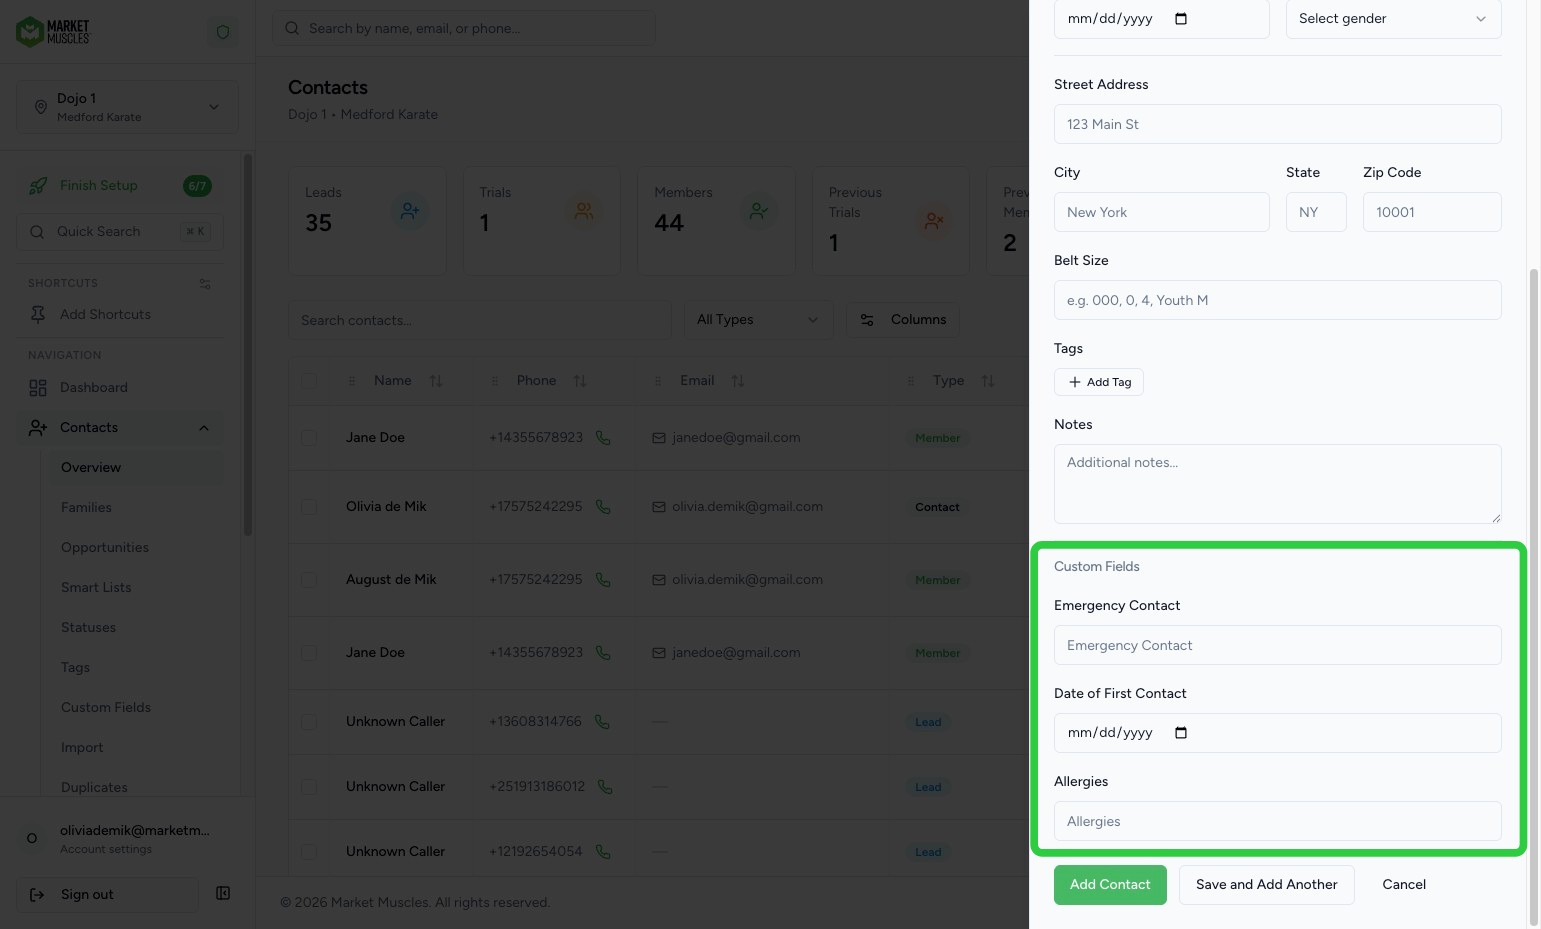
7. Fill In Custom Fields (Optional)
If your studio has custom fields configured, they will appear at the bottom of the form under Custom Fields. These may include fields like:
- Emergency Contact — a contact person in case of emergencies
- Date of First Contact — when you first connected with this person
- Allergies — any medical or allergy information to be aware of
Custom fields vary by studio and can be configured under Contacts > Custom Fields. View the help guide here: Custom Fields
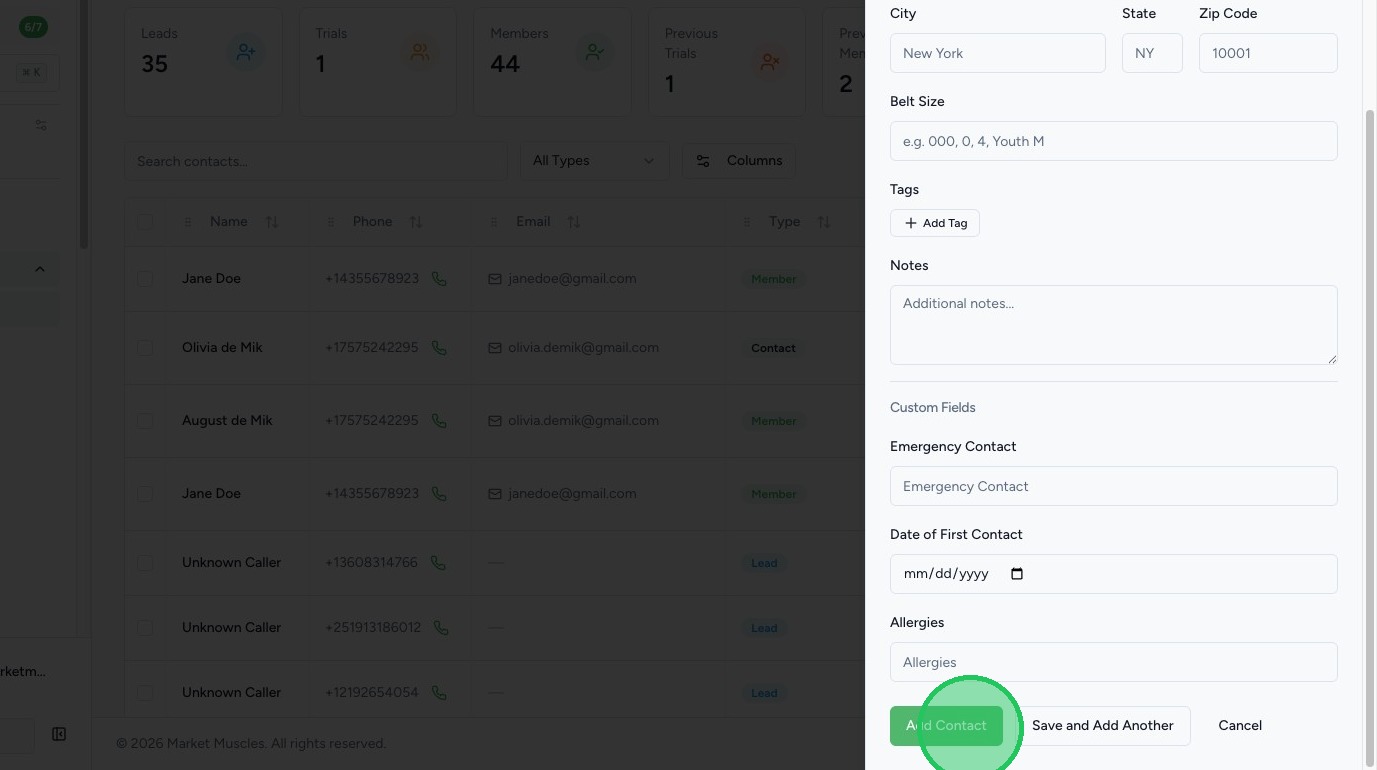
8. Save the Contact
Click the Add Contact button at the bottom of the form to create the contact record. You will be taken to the contact's full profile page where you can:
- Add notes and activity history
- Enroll them in a membership or trial
- Start a workflow
- Send an email or SMS
- Schedule an appointment
9. Other Ways to Add Contacts
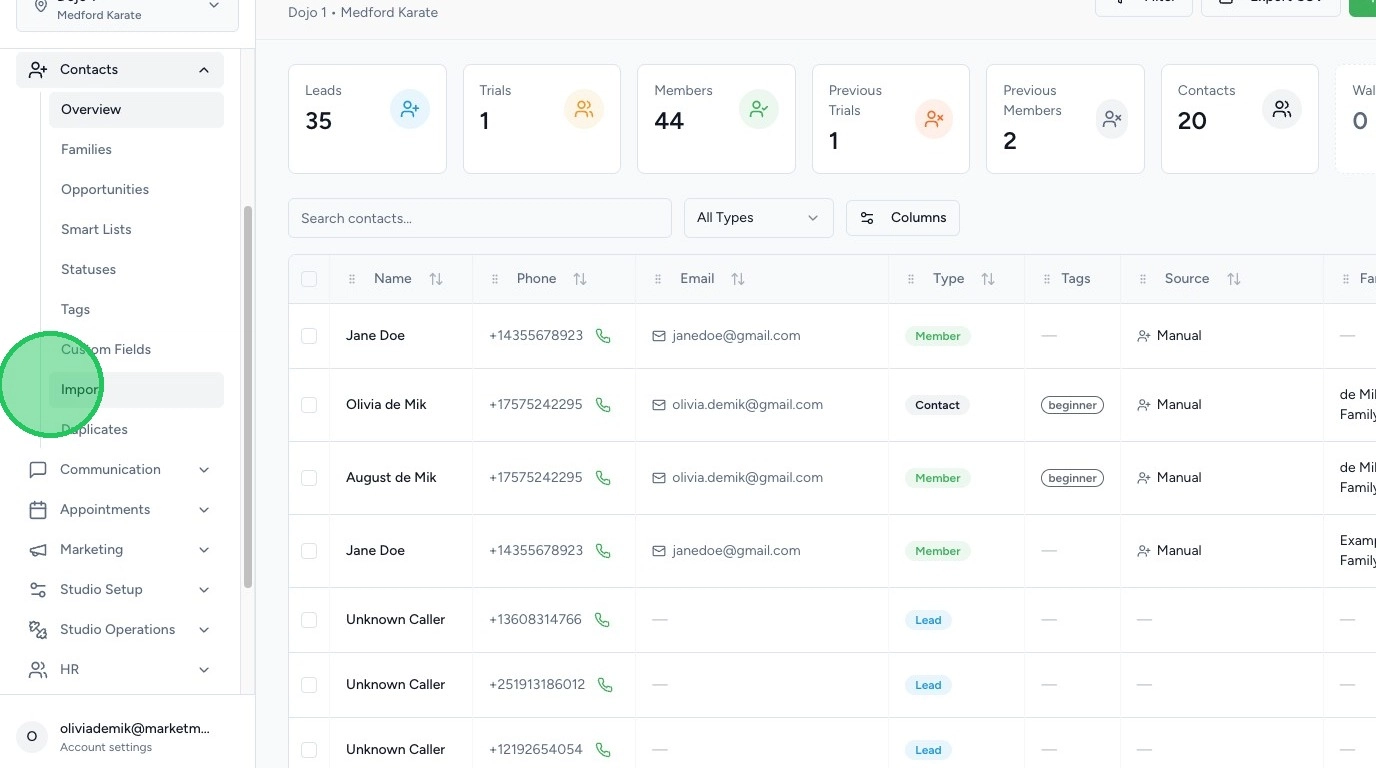
- Import CSV — go to Contacts > Import to bulk-upload contacts from a spreadsheet
- Website Forms — set up a lead capture form on your website that automatically creates new contacts
- Tablet Kiosk — use the kiosk mode for walk-in sign-ups at your front desk
- Enrollment — contacts are automatically created when someone enrolls through your online enrollment form
10. Best Practices
- Always set the correct Contact Type — this drives your reporting, workflows, and dashboard metrics
- Use tags consistently — establish a tagging convention so your team can easily filter and segment contacts
- Add email and phone whenever possible — this enables automated communication via email and SMS workflows
- Fill in custom fields — emergency contact and allergy information is important for student safety