Custom Fields
How to Add and Update Custom Fields in Contacts
Learn how to define new custom fields in your CRM to store specific contact information. This guide also covers how to edit existing contact profiles to populate these new fields with relevant data.
1. Navigate to https://app.marketmuscles.com/
2. Navigate to Custom Fields
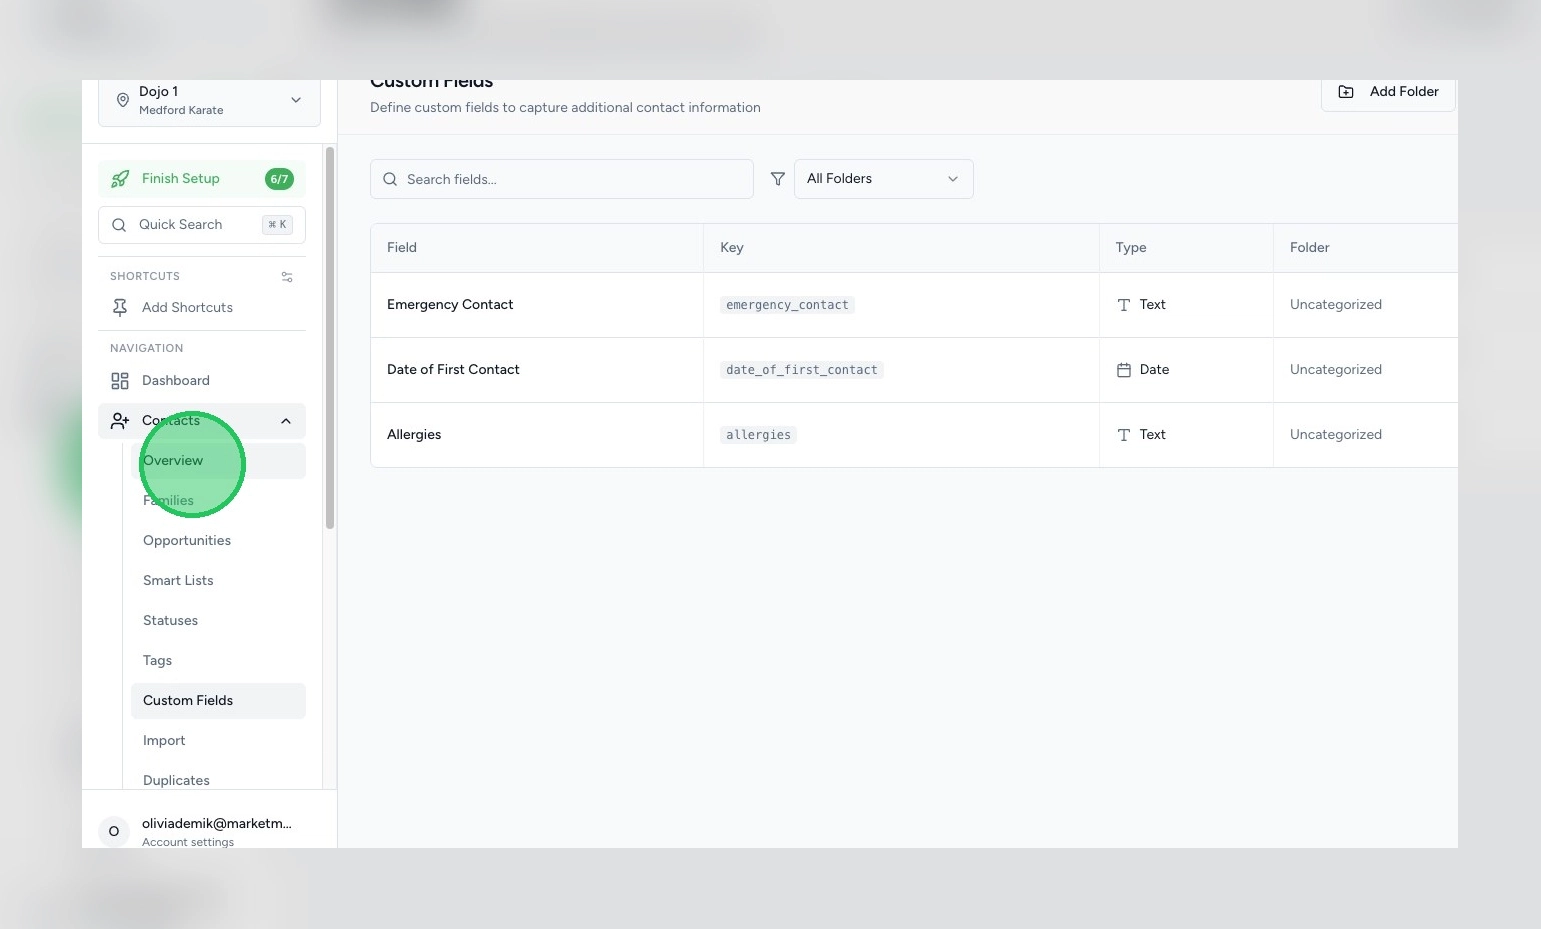
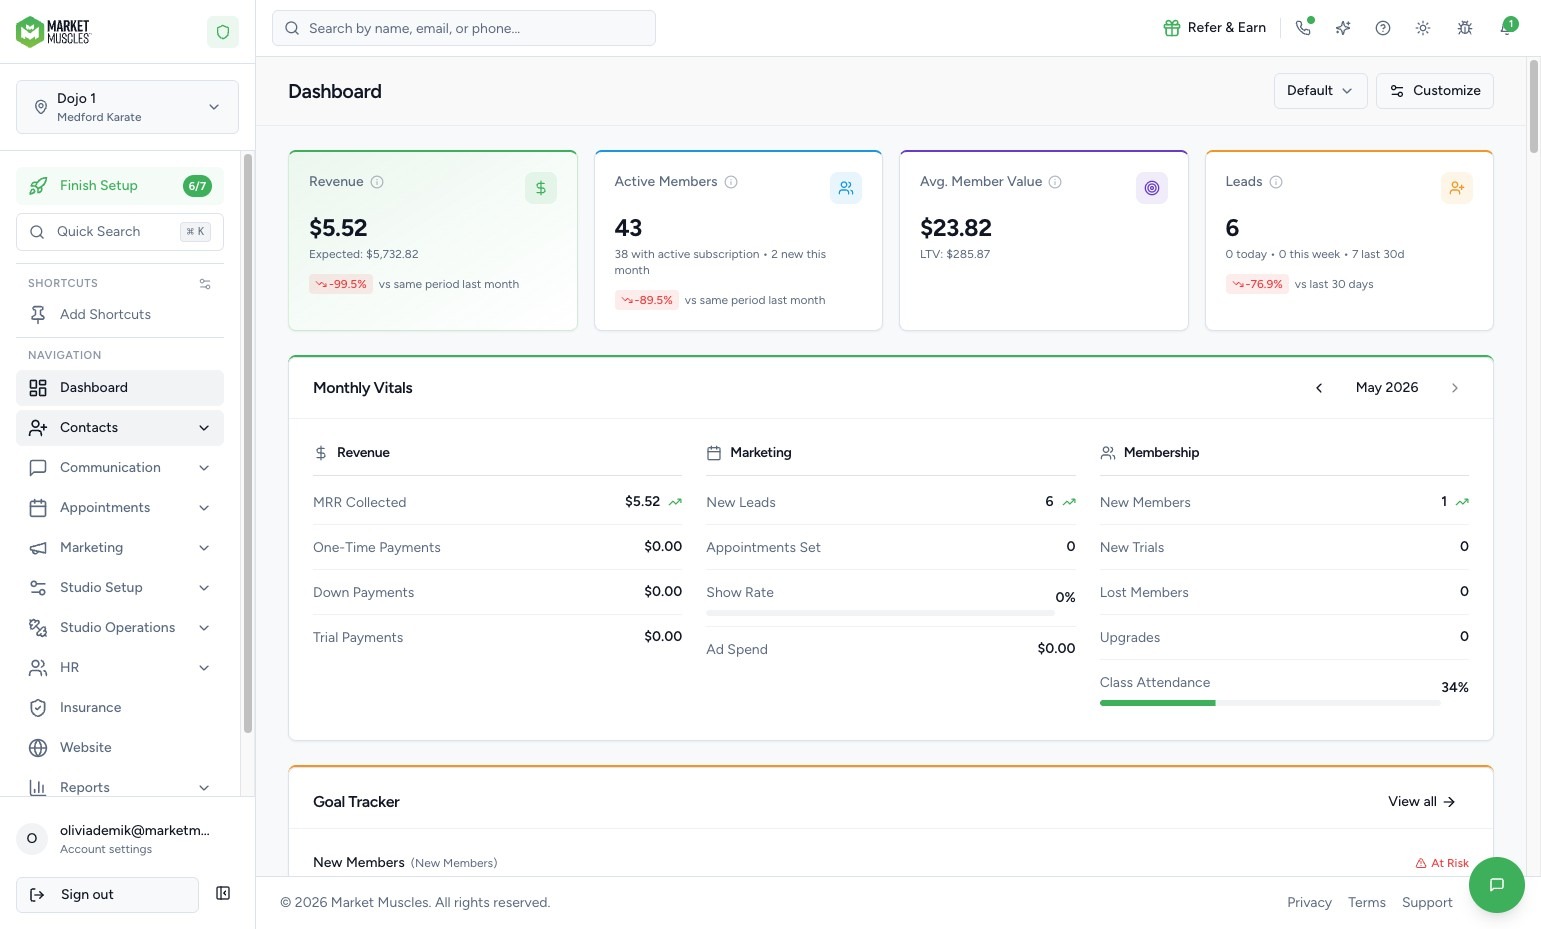
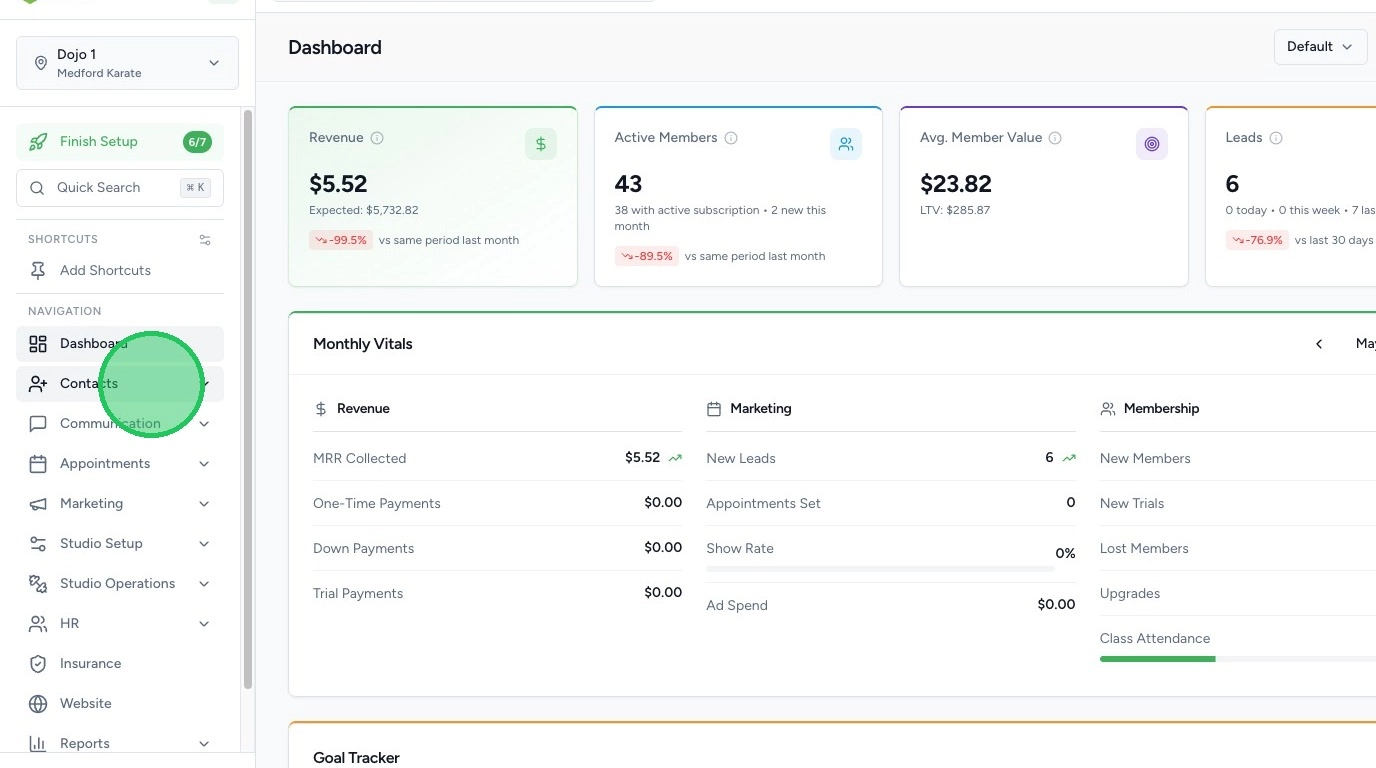
Click the Contacts tab in the left-hand navigation menu.
Click Custom Fields.
Here, you will see all custom fields that have already been created in your system.
Examples may include:
- Allergies
- Date of First Contact
- Emergency Contact
These fields will appear inside each contact’s profile.
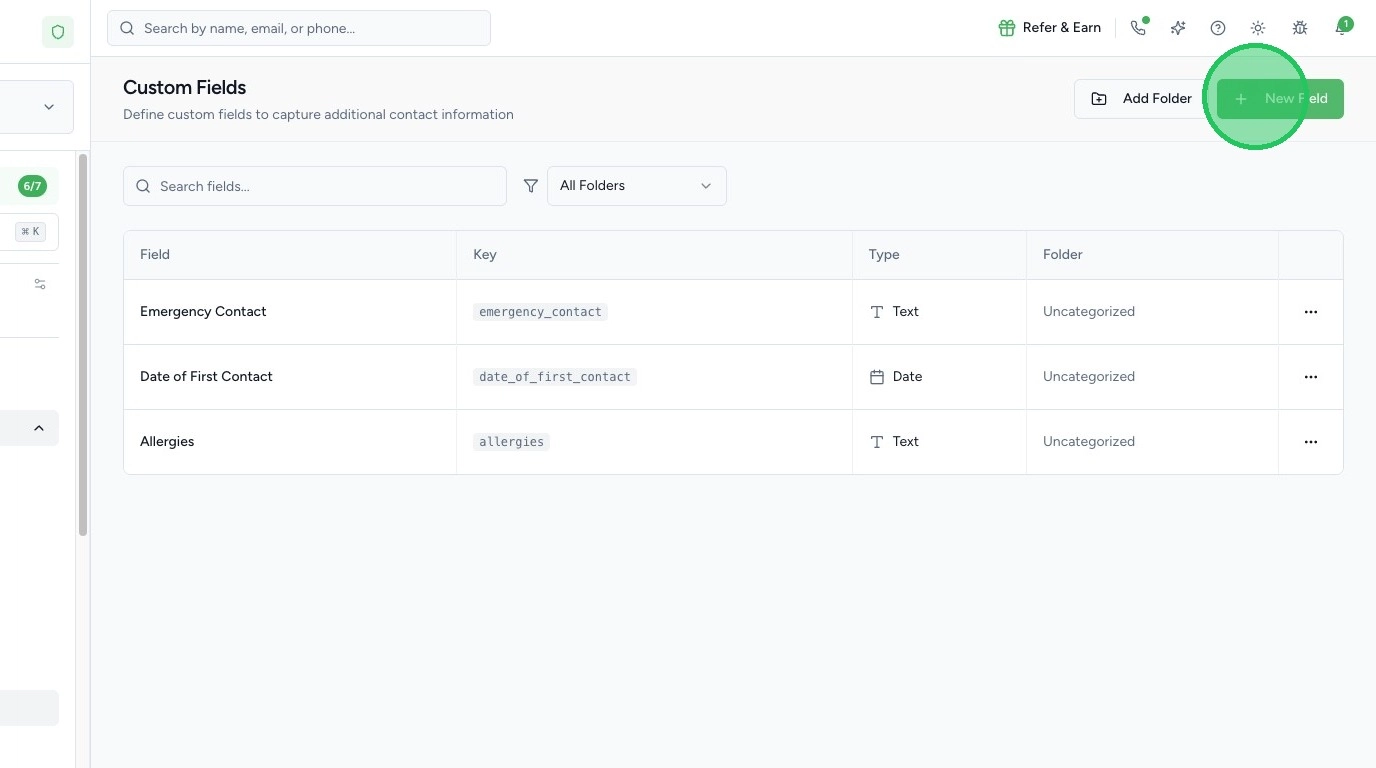
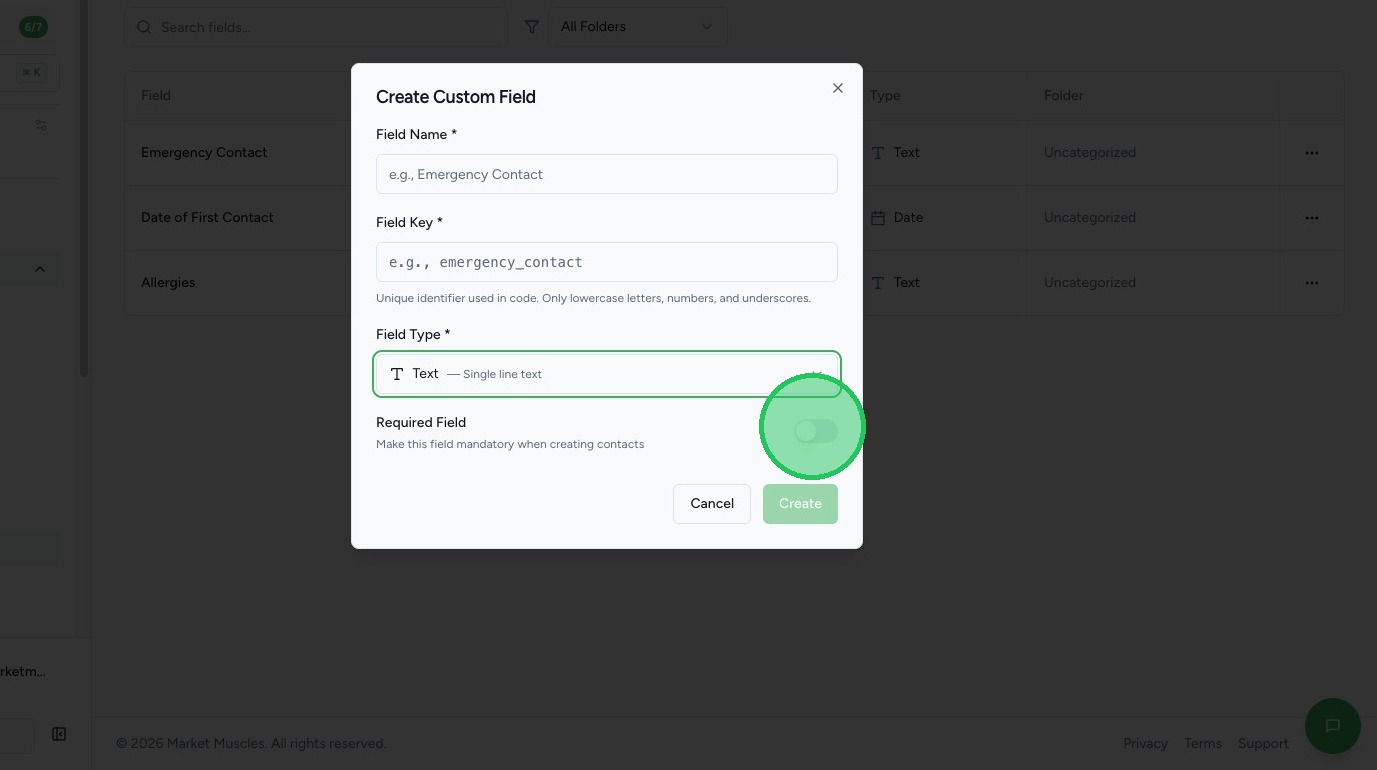
3. Create a New Custom Field
Click New Field.
You will then:
- Enter the Field Name
- Enter the Key (a unique identifier for the field — this can match the field name)
4. Choose the Field Type
You can select from several field types, including:
- Single Line Text (short answers)
- Long Text Field (longer responses or notes)
- Number
- Date Picker
- Yes/No Switch
- Dropdown
Choose the type that best fits the information you want to collect.

5. Set Field Requirements
You can choose whether the field is:
- Required when creating a new contact
- Optional
Once saved, the custom field will automatically appear in all contact profiles.
6. View & Update Custom Fields in a Contact Profile
To view or edit a custom field:
- Go to the Overview section
- Click into a contact profile
- Scroll down to the Custom Fields section
If the field has been filled out, the information will display.
If not, you can enter the information and click Update Contact to save.
The updated information will then appear on the contact’s profile.