Statuses
How To Create A New Contact Status In The Market Muscles CRM
Learn how to organize your leads and prospects effectively by creating custom contact statuses. This guide provides a quick walkthrough of the interface so you can better manage your sales pipeline and track customer progression in the Opportunity tab.
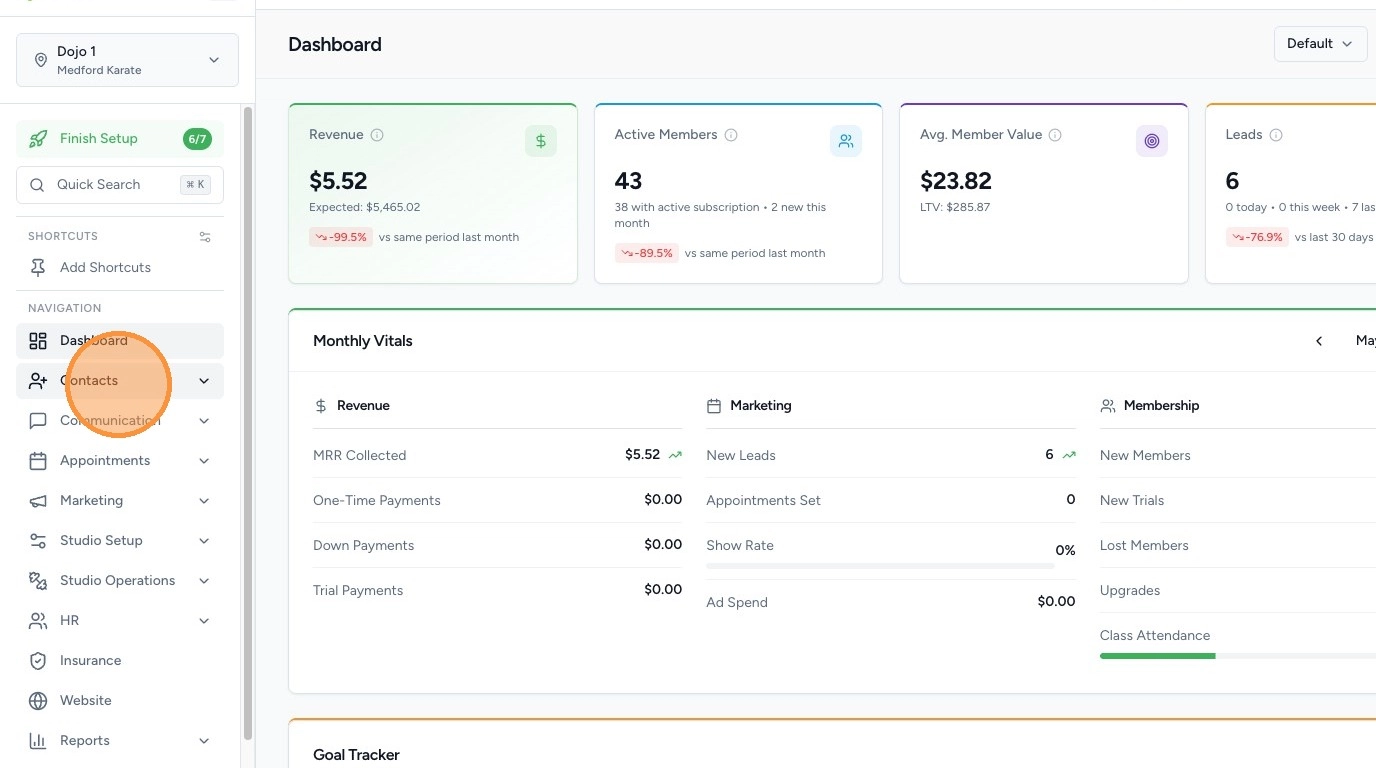
1. Navigate to your Market Muscles CRM Dashboard
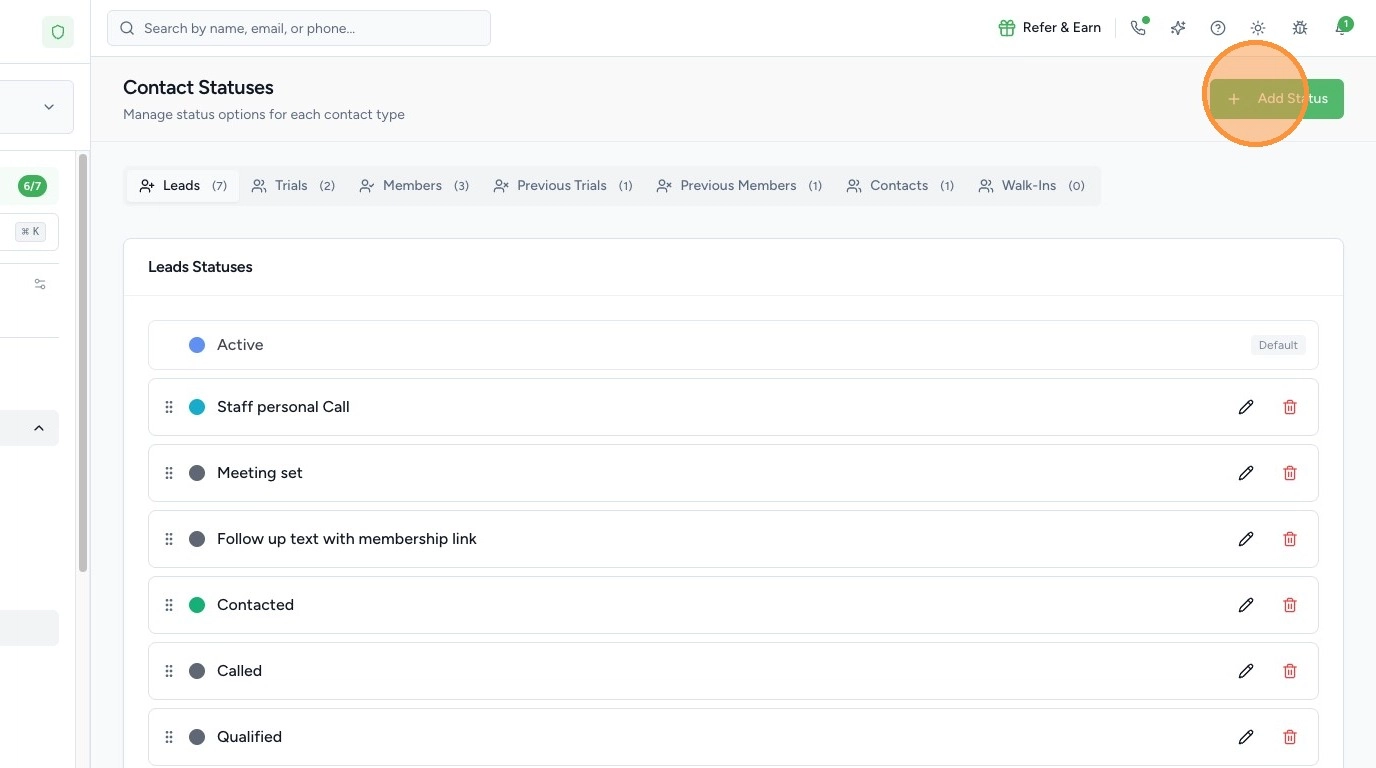
2. Navigate to Contact Statuses
Go to the area where you manage Contact Statuses (used for Opportunities).
These statuses determine the columns that appear in your Opportunities pipeline.
If you haven’t already, be sure to view the Opportunities Guide to understand how these statuses function within the pipeline view.
3. Create a New Status
Click Add Status.
You will then:
- Select the Type (Leads, Trials, Memberships, Members, etc.)
- Enter the Status Name
- Click Save
Once created, the new status will appear at the bottom of your list.
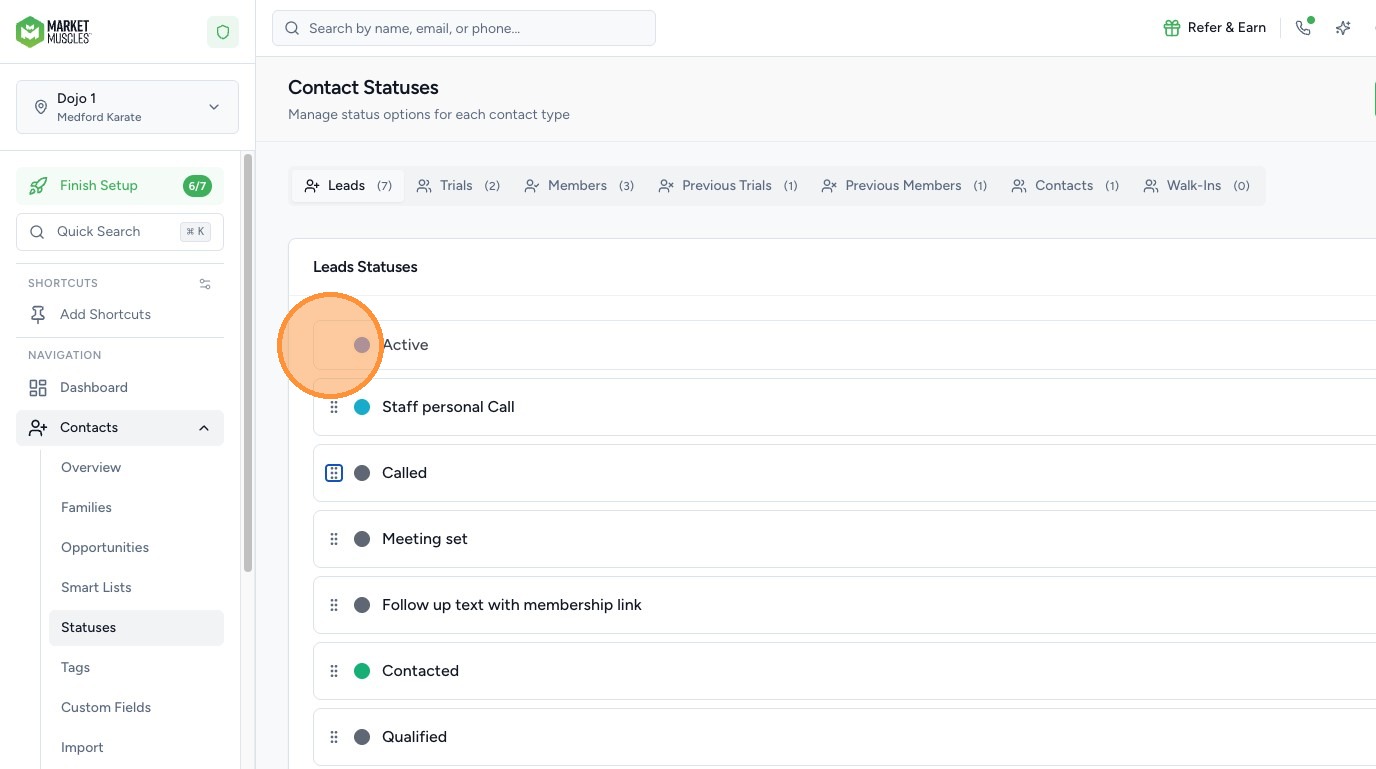
4. Reorder Status Columns
You can:
- Drag and move statuses up or down
- Change the order of the columns
The order here directly controls how columns appear in the Opportunities section.

5. Understand the Default “Active” Status
The Active status:
- Is a system default
- Cannot be removed
- Will always serve as the starting point for new contacts
All new records will automatically begin in the Active column for their respective type.
6. Build Your Customer Journey Workflow
This section is where you define your internal workflow for:
- Leads progressing to trials
- Trials converting to memberships
- Members moving through lifecycle stages
Think through how your team moves people from one phase to the next, and create statuses that reflect that process.
These statuses will then appear as columns in your Opportunities section, allowing you and your staff to visually move contacts through each stage.
