AI Assistants
Creating and Integrating an AI Marketing Assistant
Learn how to build and configure a custom AI assistant to help engage prospects, answer questions automatically, and even schedule appointments — all without manual intervention.. This guide also covers how to test your assistant and embed it directly into your website for seamless visitor engagement.
1. Navigate to https://app.marketmuscles.com/
2. Navigate to AI Assistance
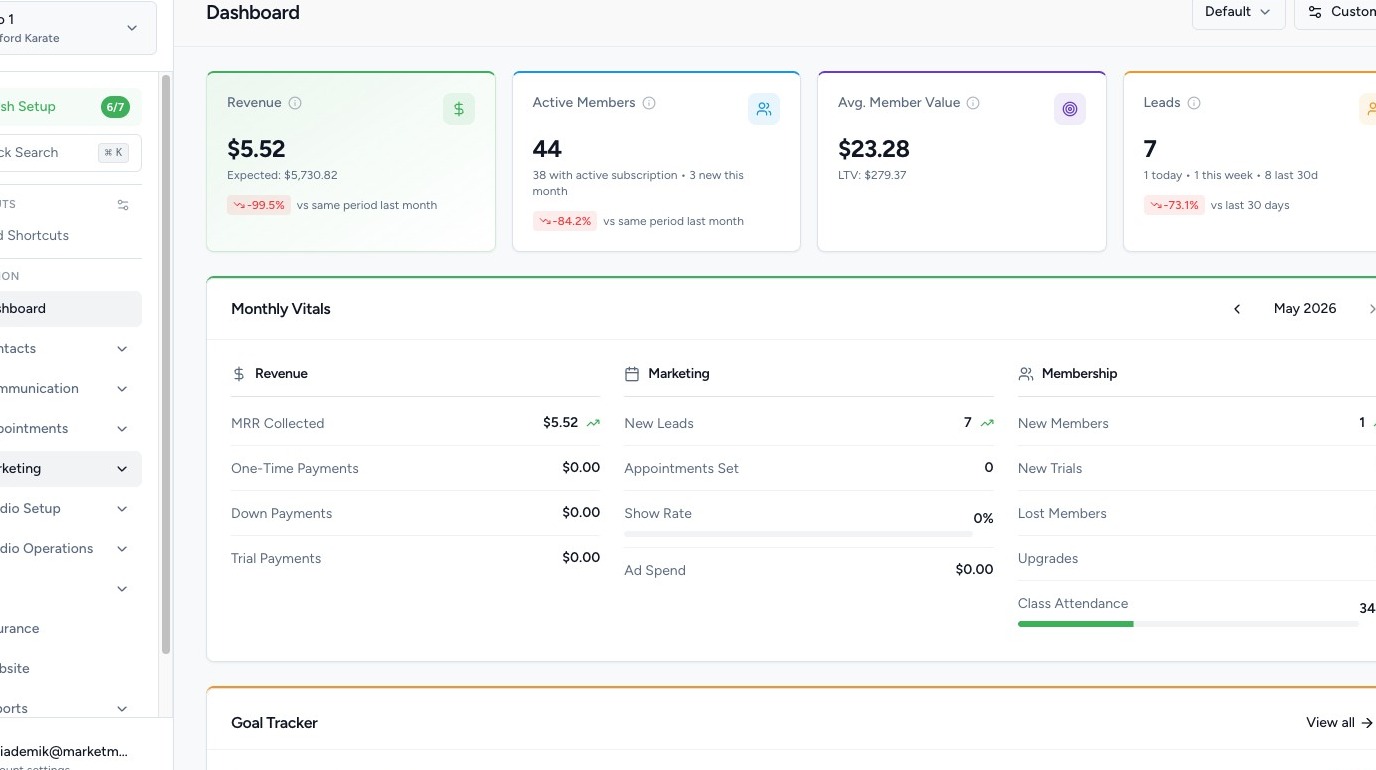
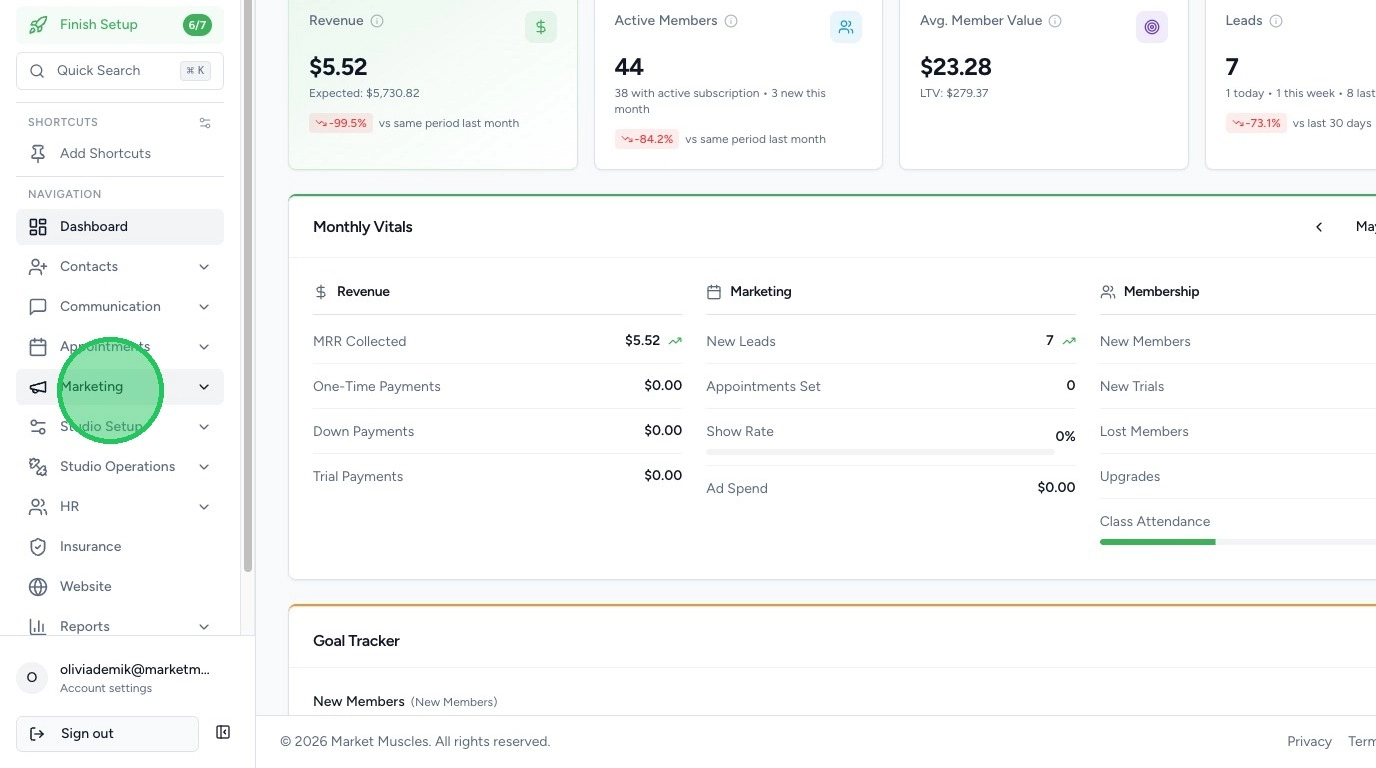
Click the Marketing tab in the left-hand navigation menu.
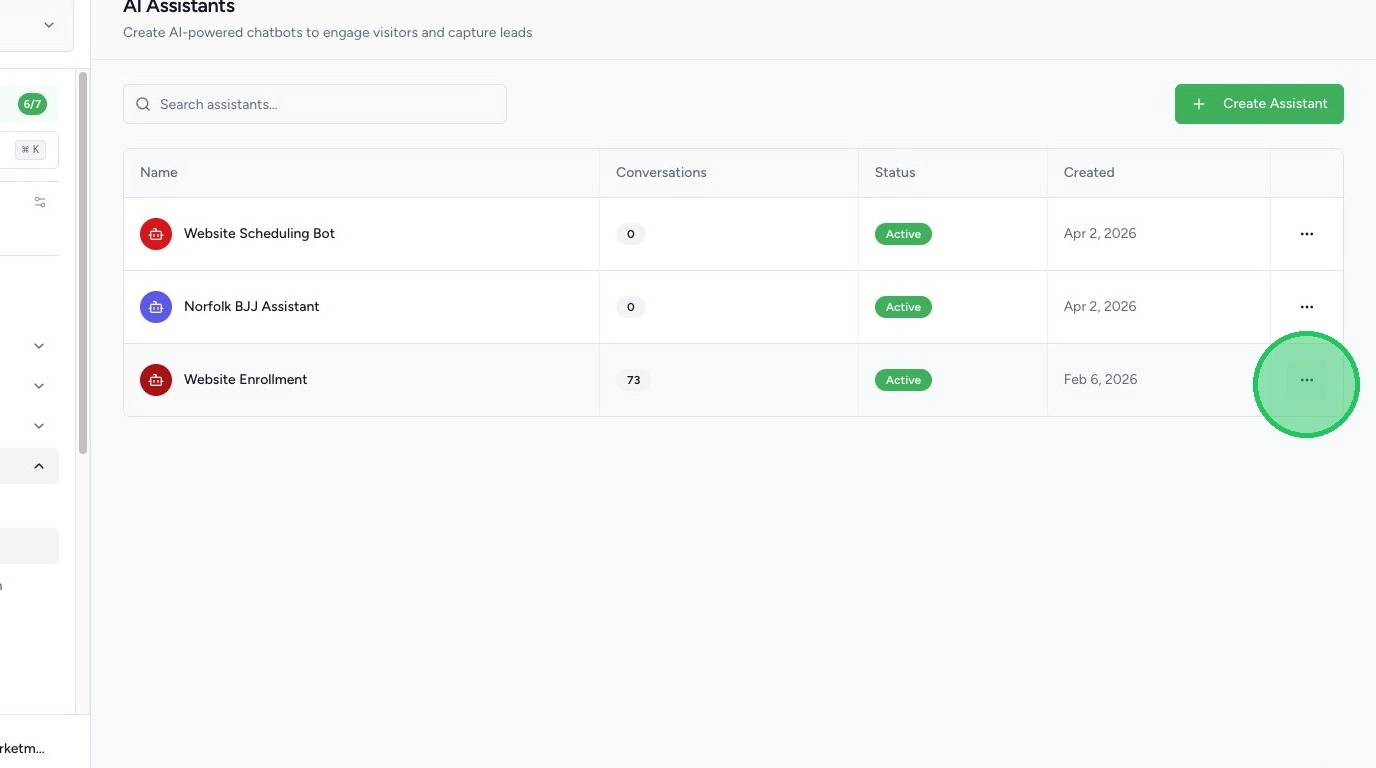
Click AI Assistants.
> Note: This AI Assistant is designed to engage visitors on your website. It is separate from the internal Kai assistant used inside your CRM.
Assistant Configuration
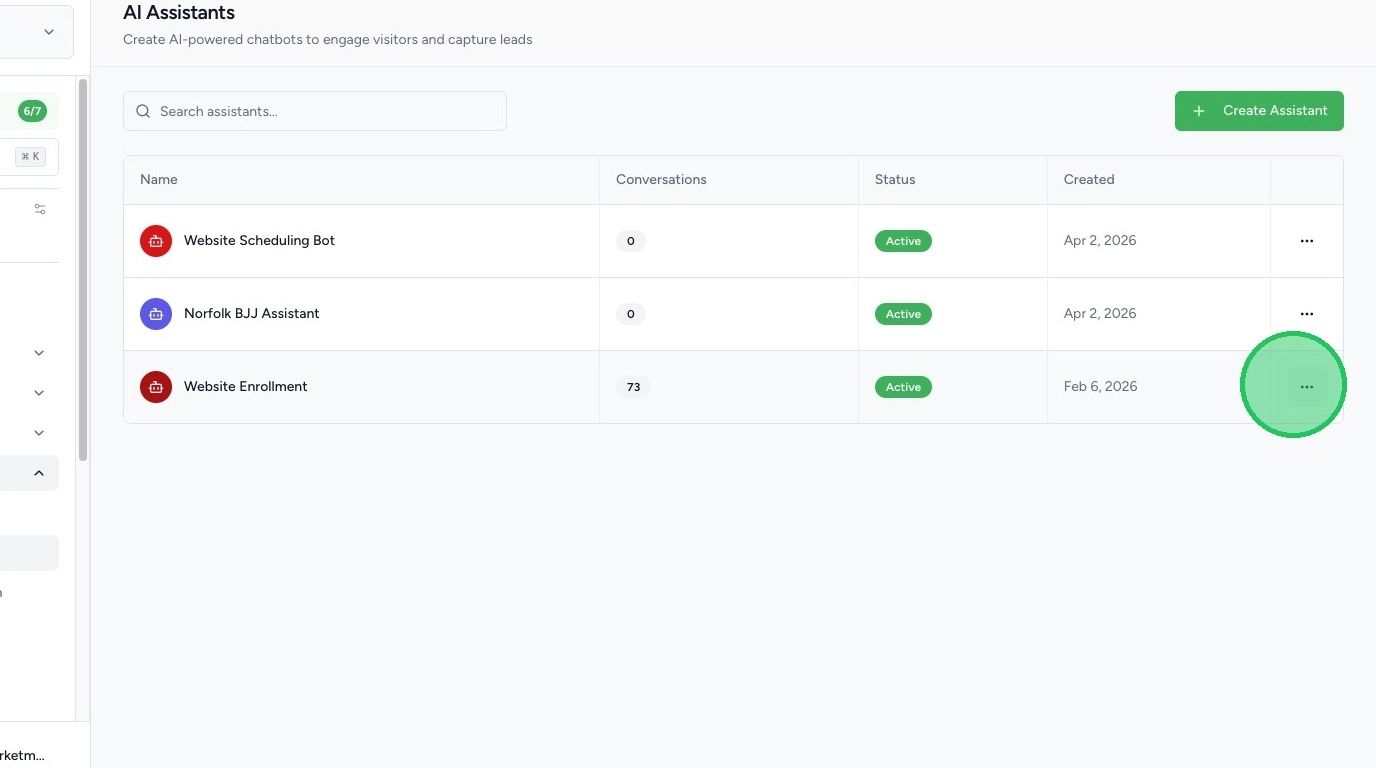
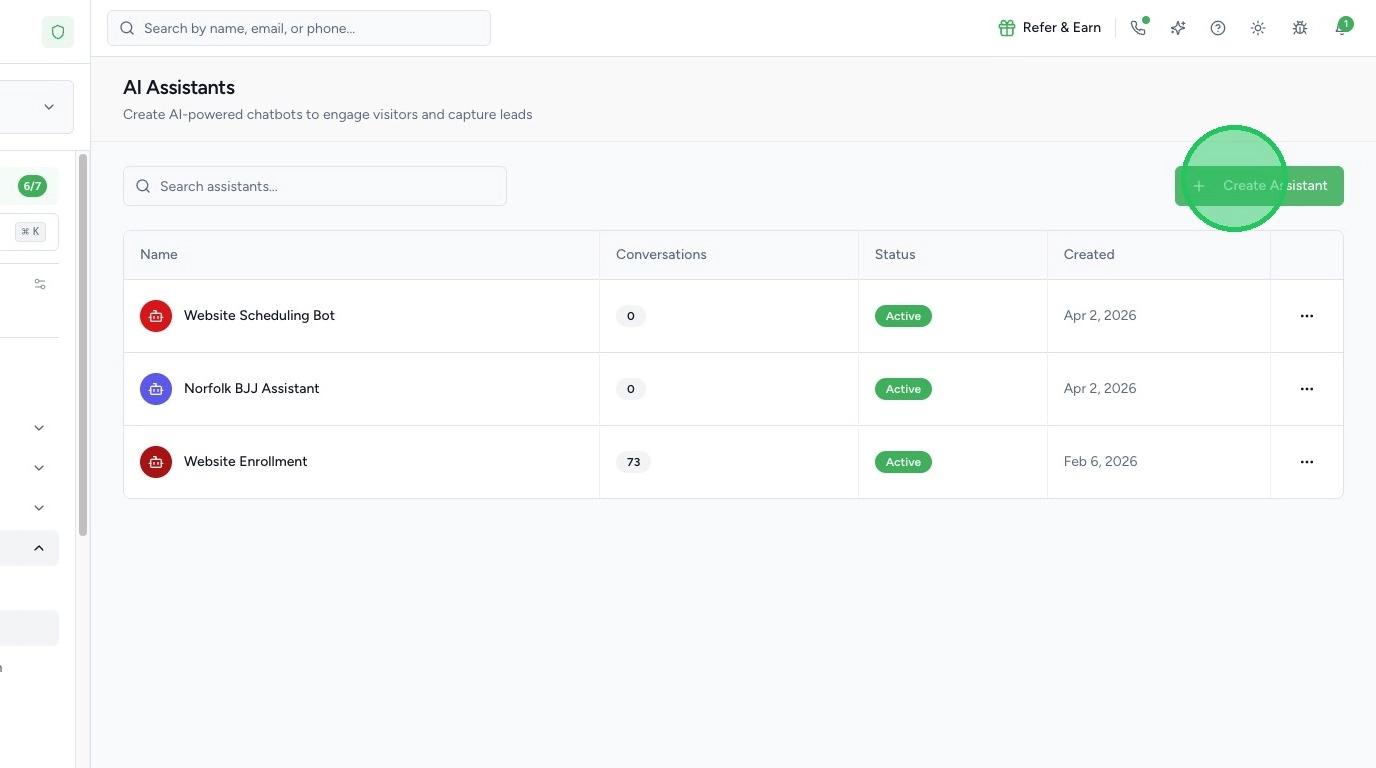
3. Create Your AI Assistant
Click to create or edit your assistant.
You can choose to either manually set up your AI Assistant, or Kai, your personal business coach, can help guide you through the process!
The instructions below walk through the manual setup.
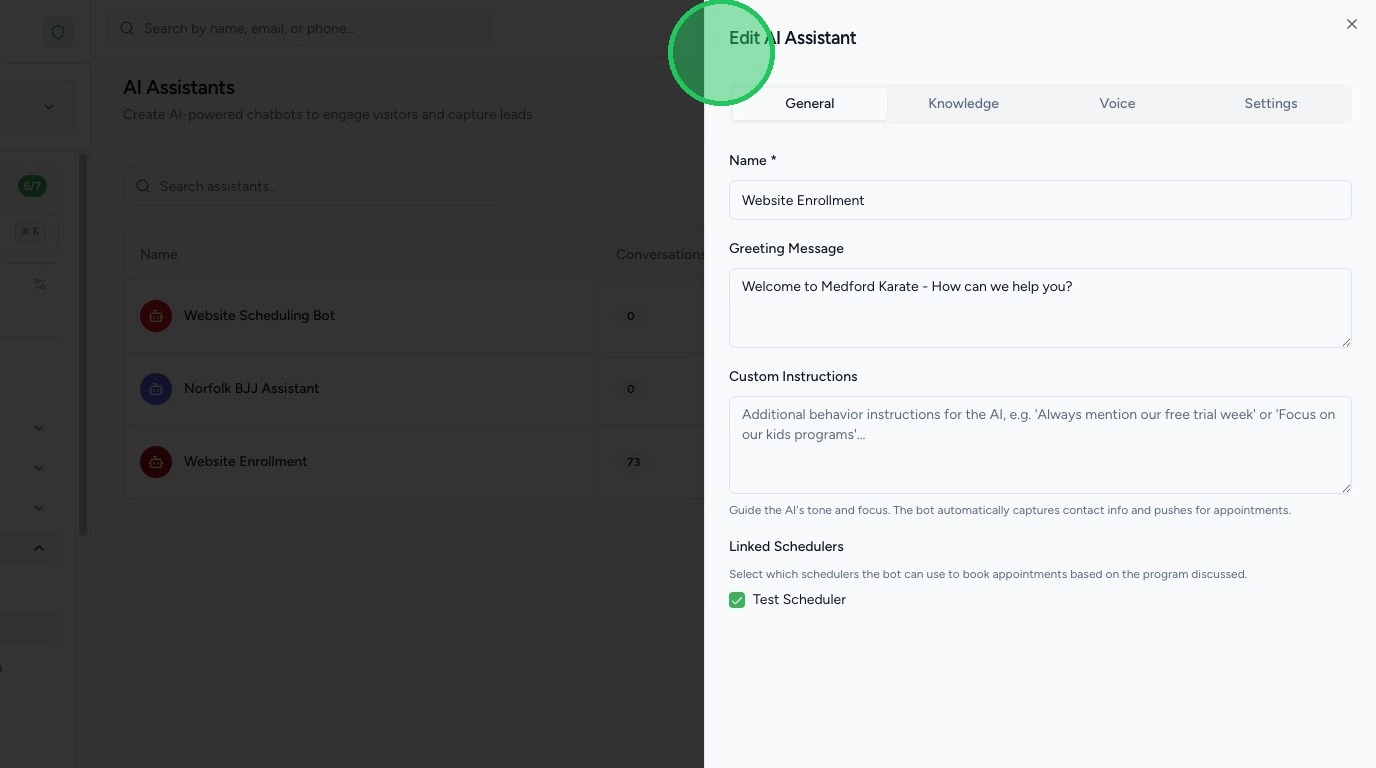
4. Create Your AI Assistant
Click to create or edit your assistant.
You will be able to configure:
- Assistant Name
- Greeting Message
- Custom Instructions
In the Custom Instructions section, you can define behavior rules such as:
- Always mention current specials
- Never discuss pricing unless asked
- Act as a friendly front desk representative
- Direct users toward booking a trial
This works similarly to giving instructions to tools like ChatGPT — you define how the assistant should behave.
Link a Scheduler
You can connect a Scheduler to your AI Assistant.
This allows the assistant to:
- Book appointments
- Schedule intro classes
- Direct users to available time slots
This creates a seamless booking experience directly through the chatbot.
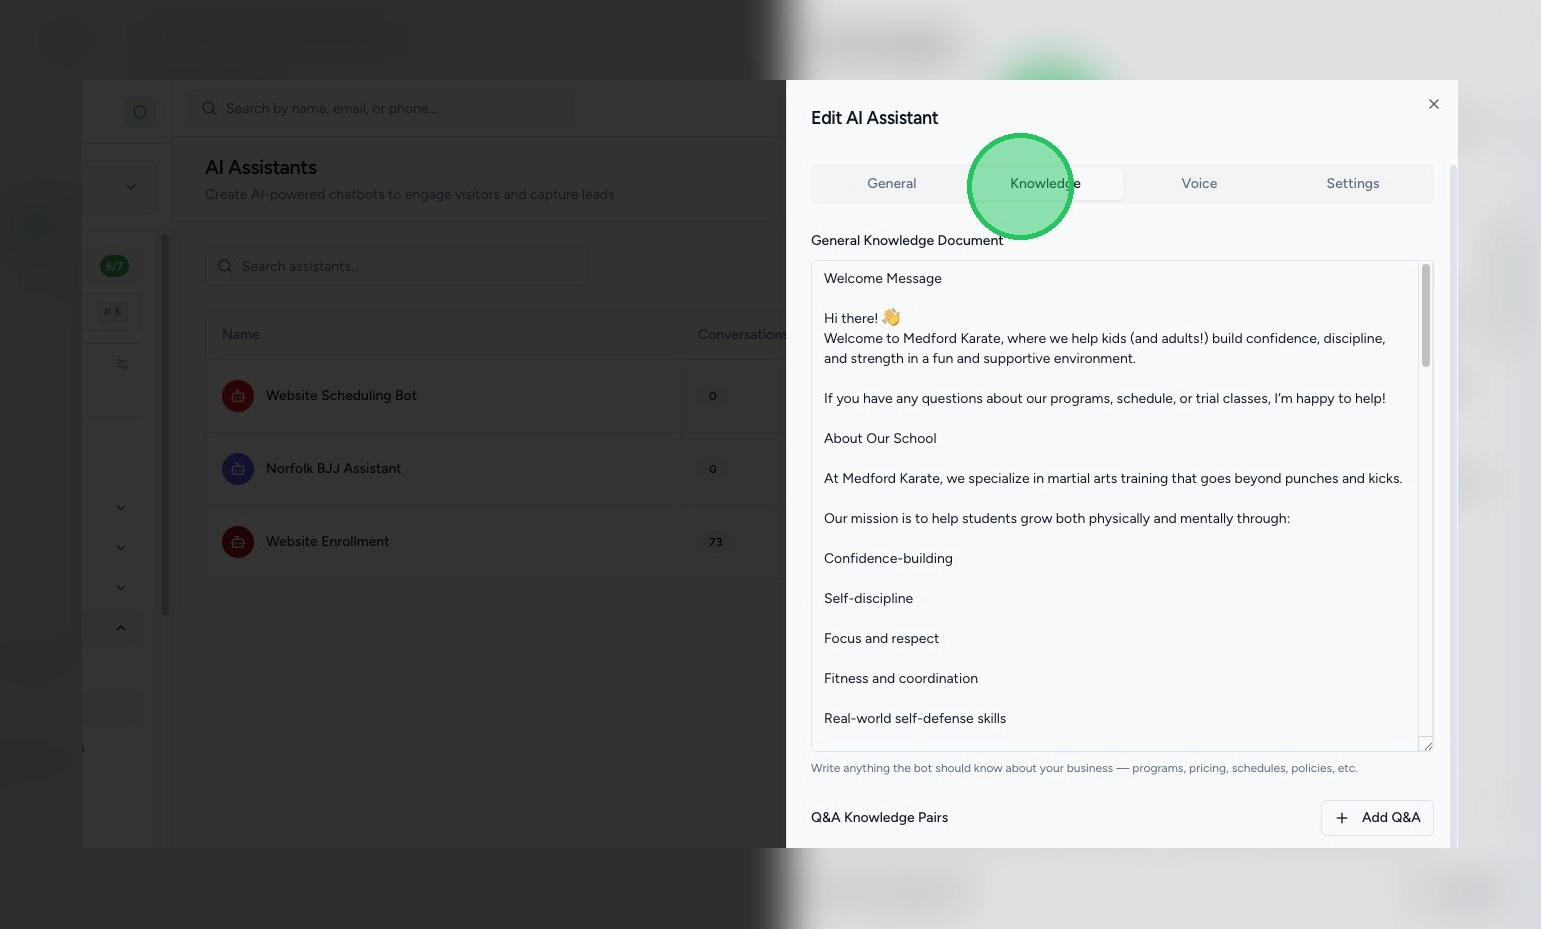
5. Add a Knowledge Base
In the Knowledge Base section, you can add information your assistant should reference.
You can:
- Paste FAQs
- Add detailed paragraphs about your programs
- Structure content as Question & Answer
Example (Q&A format):
Question: What specials are you currently running?
Answer: We are currently offering two free trial classes for all new students!
You can include:
- Pricing details
- Class schedules
- Age ranges
- Program descriptions
- Policies
The more information you provide, the better your assistant will perform.
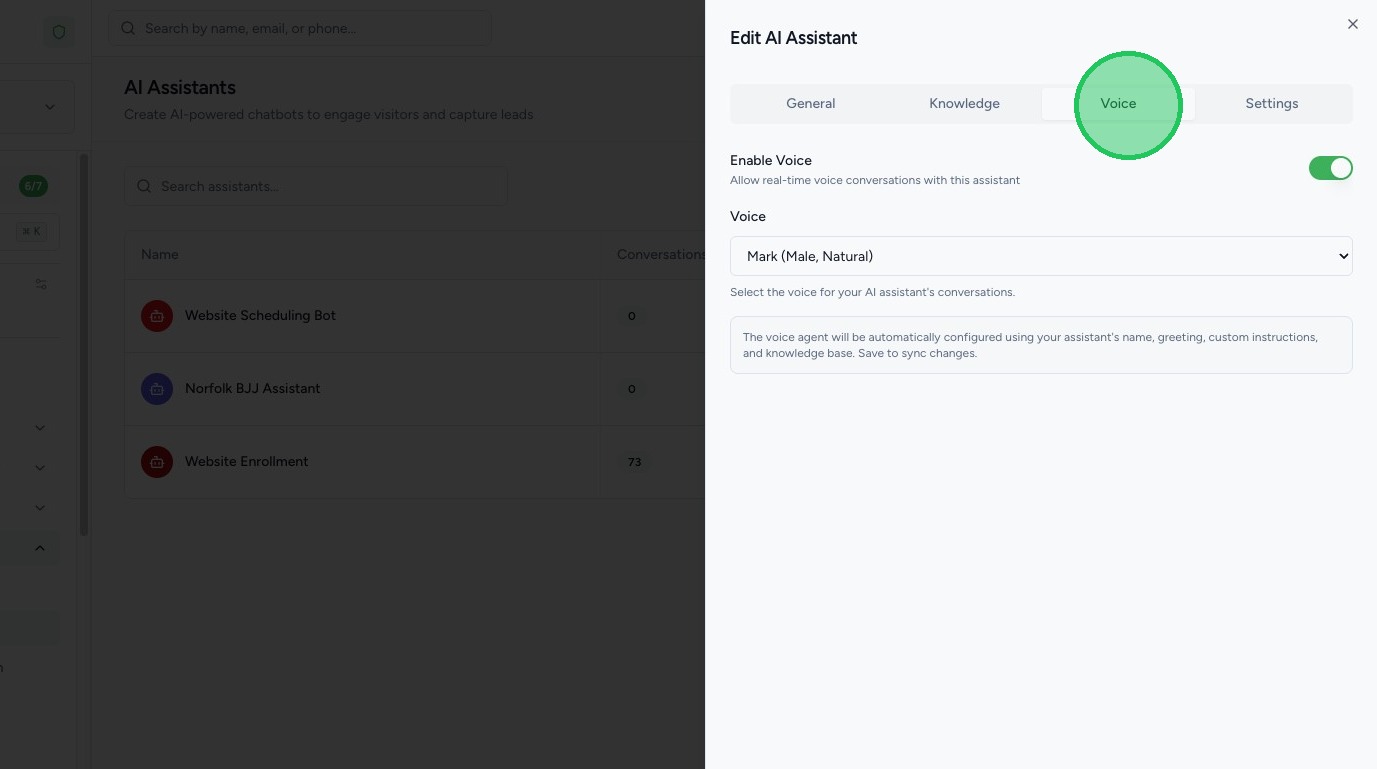
6. Customize Voice
Your AI Assistant can be used to answer phone calls as well! If you want to use this feature, be sure to enable the voice feature.
You can choose the demeanor/style of voice.
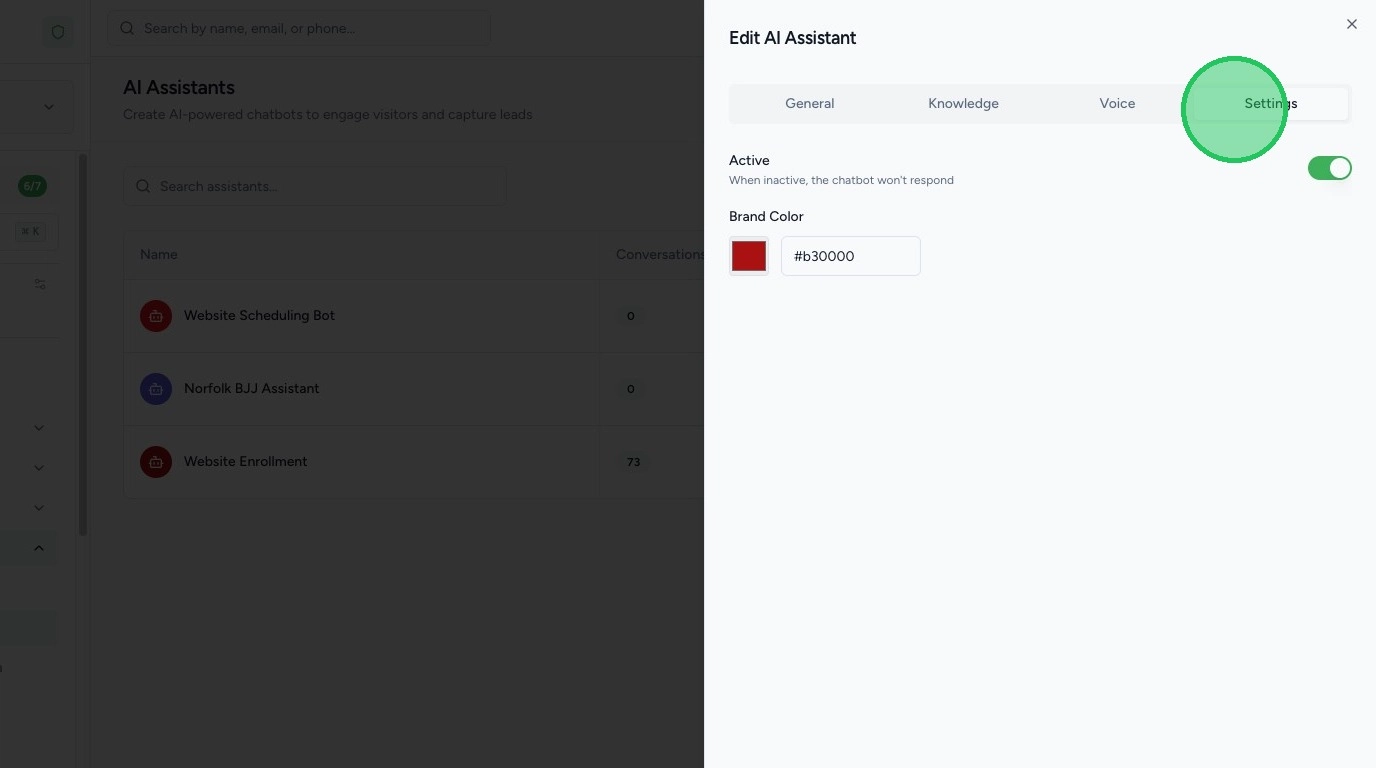
7. Customize Appearance & Activation
Go to Settings to:
- Change the Brand Color of the chatbot
- Toggle the assistant Active or Inactive
Make sure the assistant is activated before embedding it on your website.
Testing and Monitoring
8. Test Your AI Assistant
Click Test to simulate a real visitor interaction.
You can:
- Type messages back and forth
- See how the assistant responds
- Confirm it follows your instructions
> Note: Test chats do not save like real visitor conversations.
This step ensures you're confident in how the assistant communicates with prospects.
9. View Live Chats
In the Chats section, you can:
- View real conversations with website visitors
- Monitor AI responses
- Track engagement
This allows you to review and refine performance over time.

Website Integration
10. Embed the AI Assistant on Your Website
Click Embed Code.
Copy the provided code.
If using a Market Muscles website:
- Log into your Website Dashboard
- Go to the Settings > Marketing section
- Paste the embed code into the Body or Footer section
- Save your changes by selecting Update
Once added, the AI assistant will appear on your website.