Tags
Creating and Utilizing Tags in the Market Muscles CRM
Learn how to organize your contacts effectively by creating custom folders and tagging specific individuals in your dashboard. This guide shows how to efficiently set up, organize, and apply tags in Market Muscles CRM so you can segment contacts, streamline workflows, and trigger automated campaigns.
1. Navigate to https://app.marketmuscles.com/
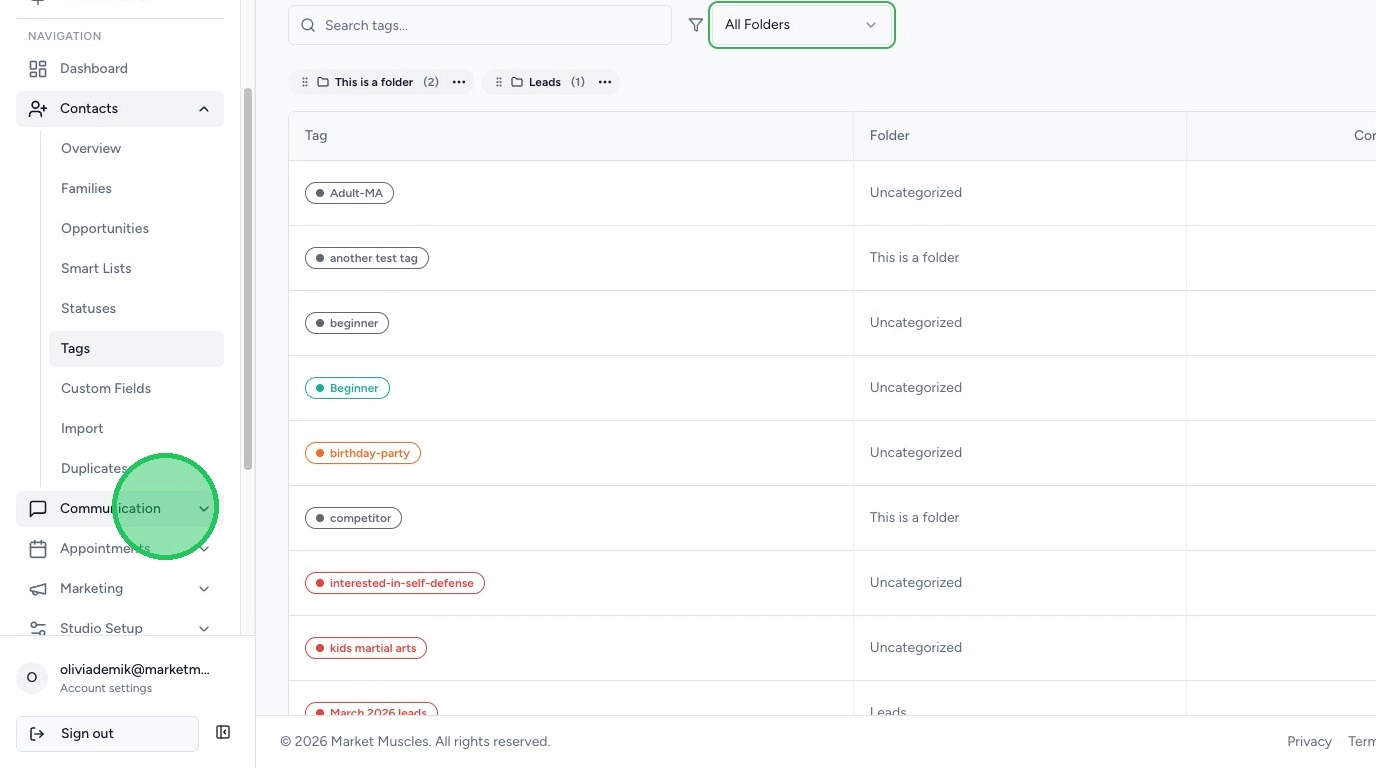
2. Navigate to the Tags Section
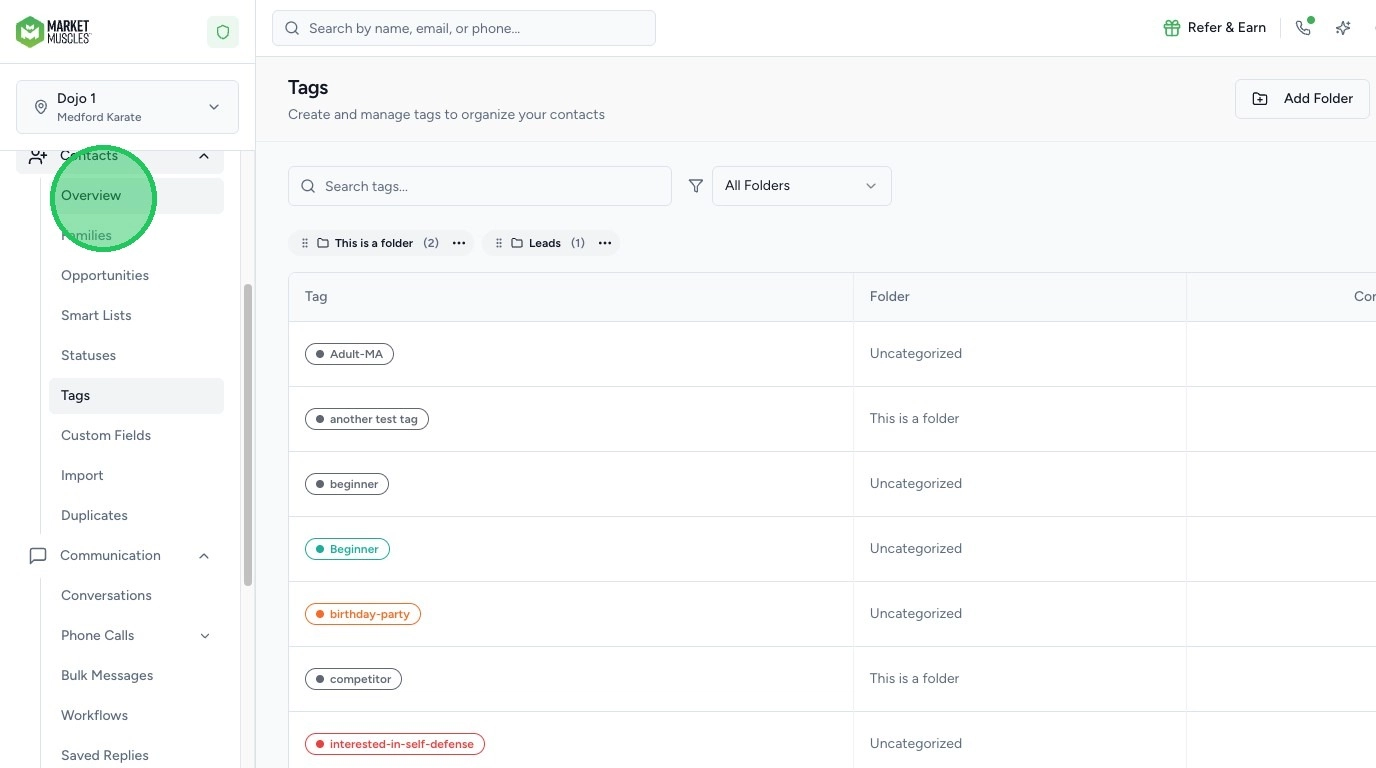
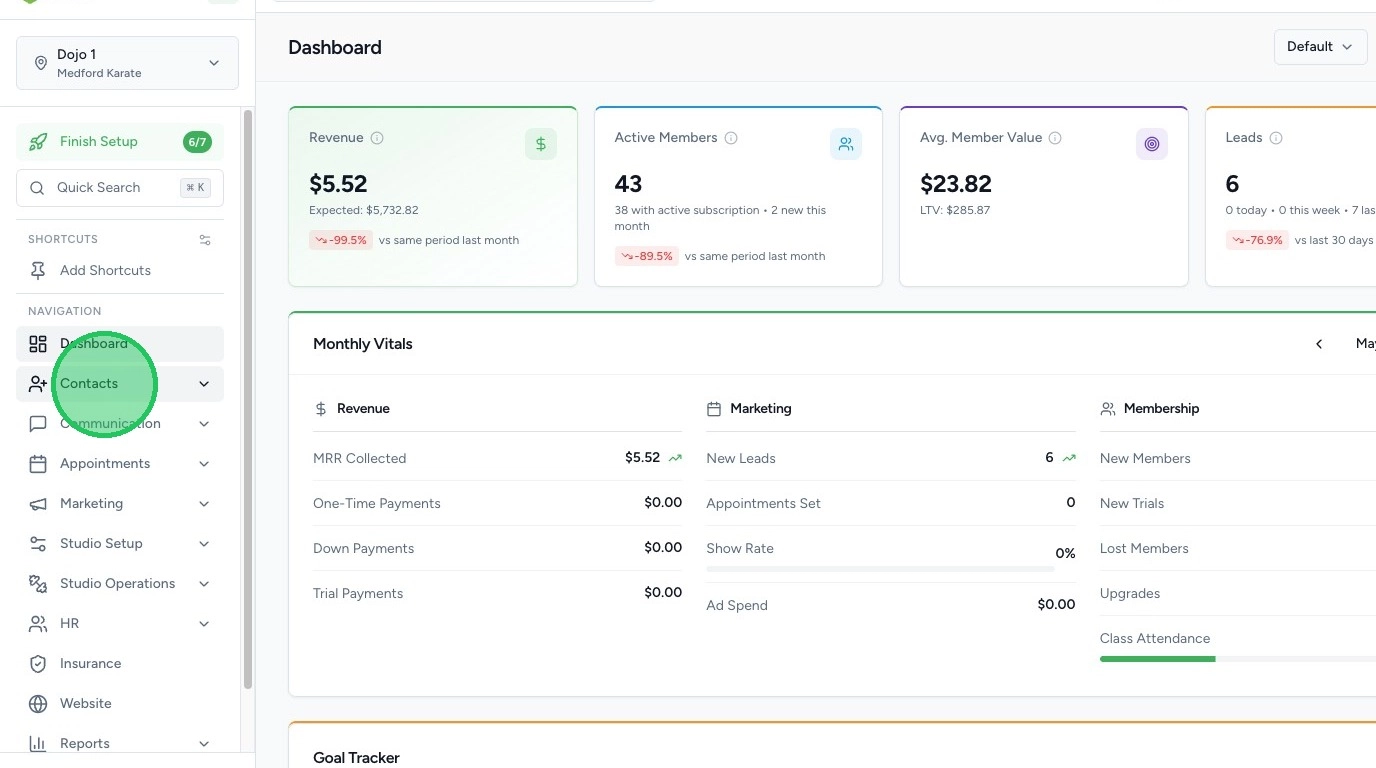
Click the Contacts tab in the left-hand navigation menu.
Click Tags.
Here, you will see:
- All tags currently in your system
- Tags created manually
- Tags generated from your website or automations
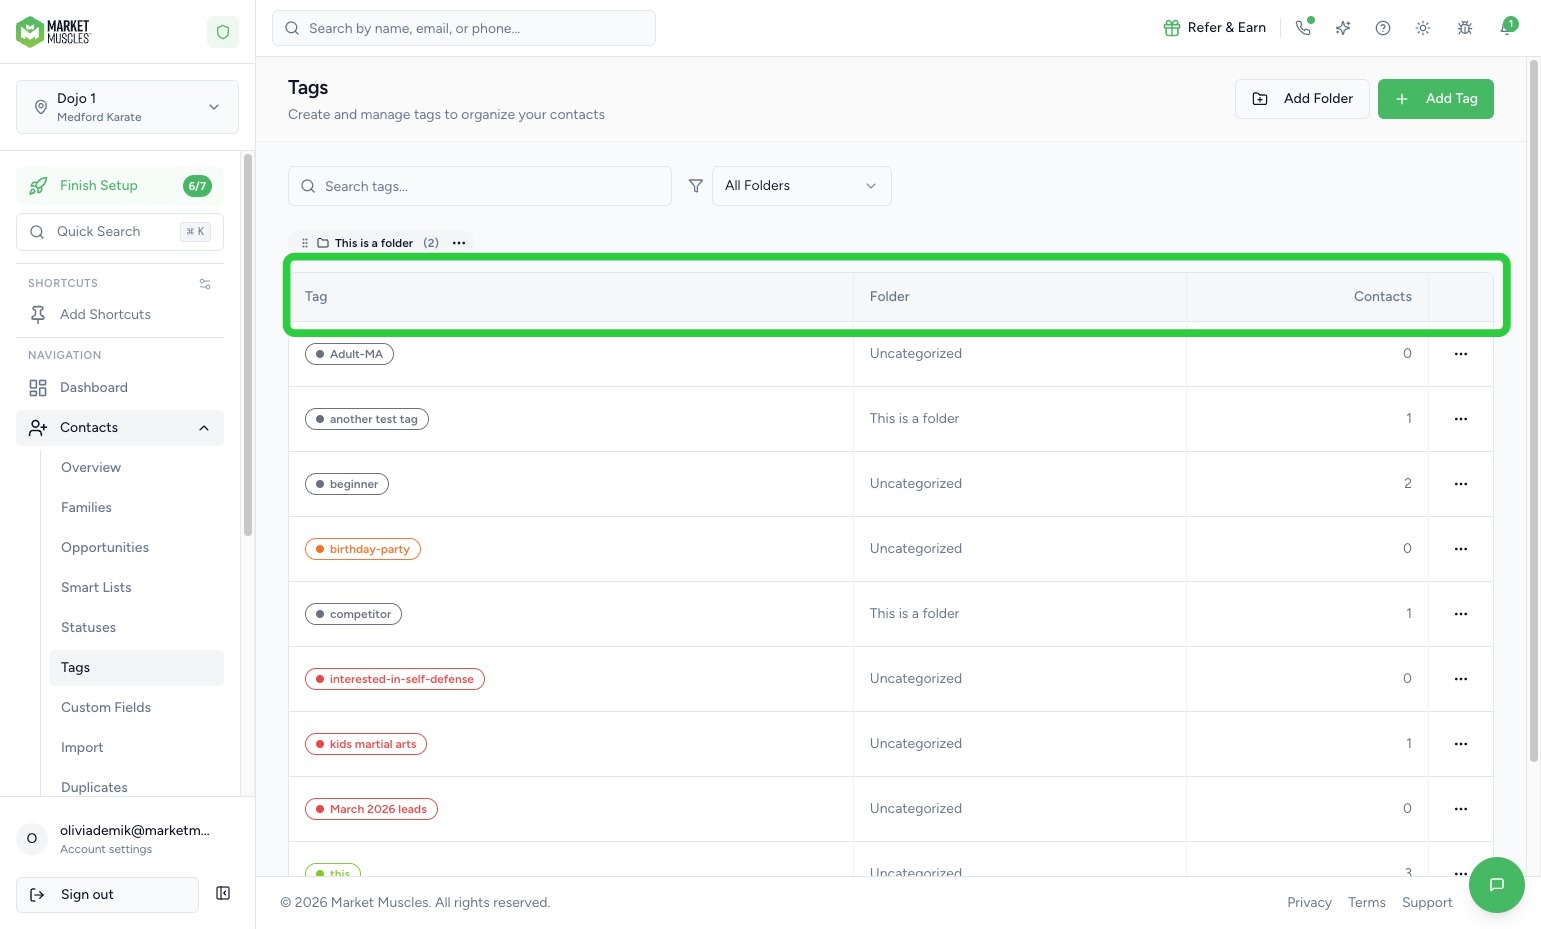
3. View & Manage Existing Tags
Within the Tags section, you can:
- See the name of each tag
- View the number of contacts assigned to each tag
- Click into a tag to review associated contacts
This gives you a quick overview of how tags are being used in your system.
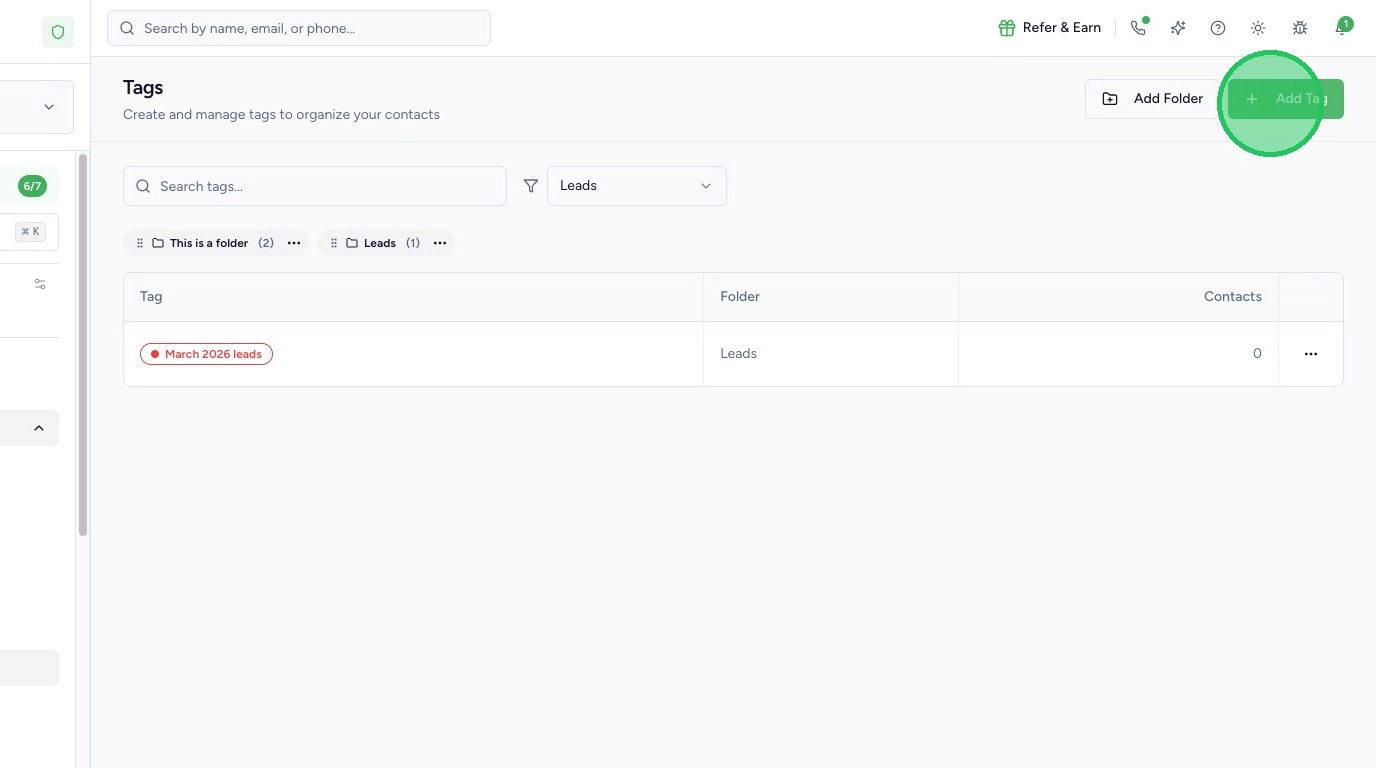
4. Create Tags
To do this:
- Click to Add Tag
- Create a Name for the tag. This can be any category you wish to add. Examples: level, interests, family, age group, etc.
- Select a folder if desired
- Customize the tag color
- Click Create
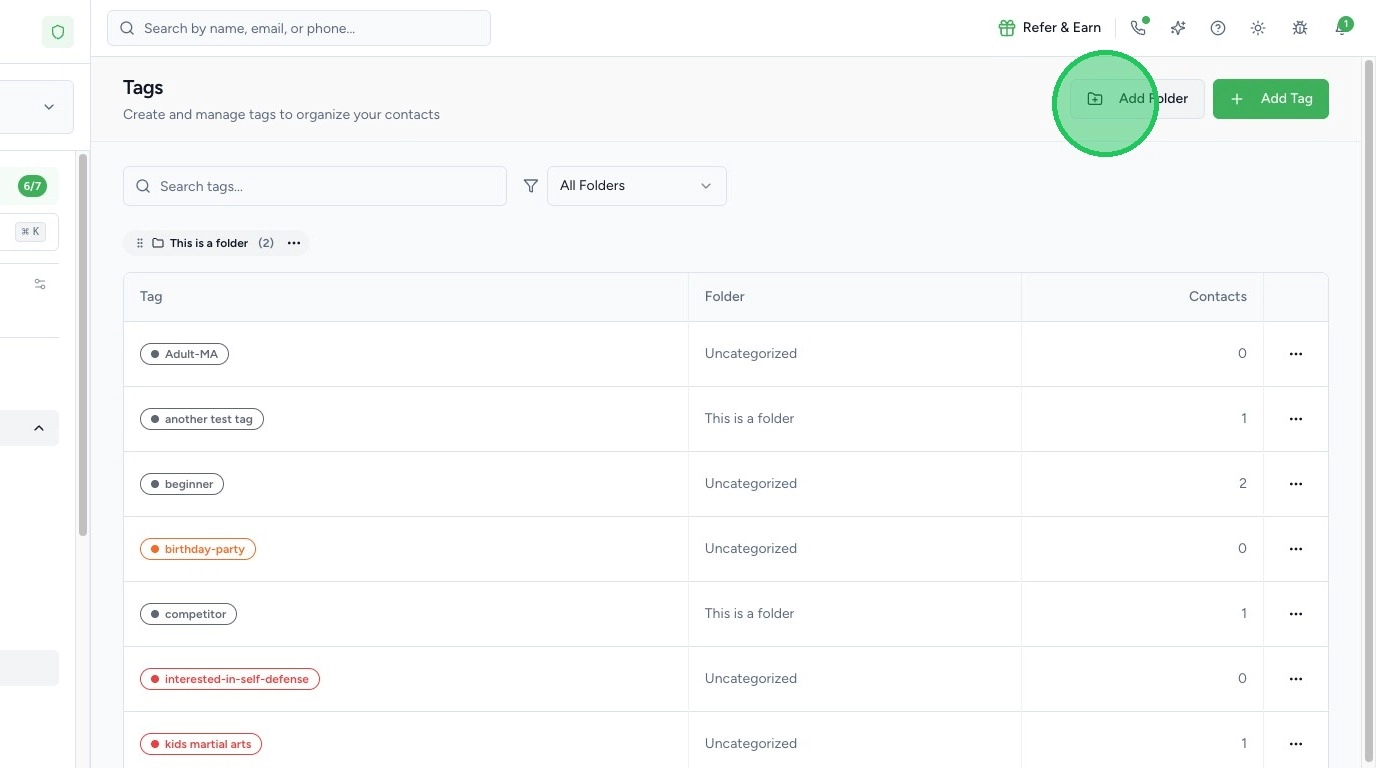
5. Create & Organize Tag Folders
To better organize your tags, you can create Folders.
To do this:
- Click to Create Folder
- Name the folder
- Move existing tags into that folder
Once folders are created, you can:
- Sort tags by folder
- Click All Folders to view everything at once
This helps keep your tagging system clean and organized.
6. Use Tags for Automations
Tags are powerful because they can trigger automations.
For example:
- When a tag is added to a contact, a workflow can start
- When a specific tag is applied, an email or SMS can be sent
- Tags can segment contacts for campaigns
Tags work closely with Workflows and Automations, so be sure to review the workflows training to maximize their effectiveness.
7.Apply Tags to Contacts
When viewing a contact profile, you can:
- Manually add or remove tags
- Trigger automations based on those tags
- Use tags to segment and filter contacts
Tags make it easier to organize your database and automate communication.