Smartlists
How to Create a New Smart List in the Market Muscles CRM
Learn how to organize your database by creating custom Smart Lists that make it easy to segment your contacts, automate messaging, and quickly access specific groups of people in your system.
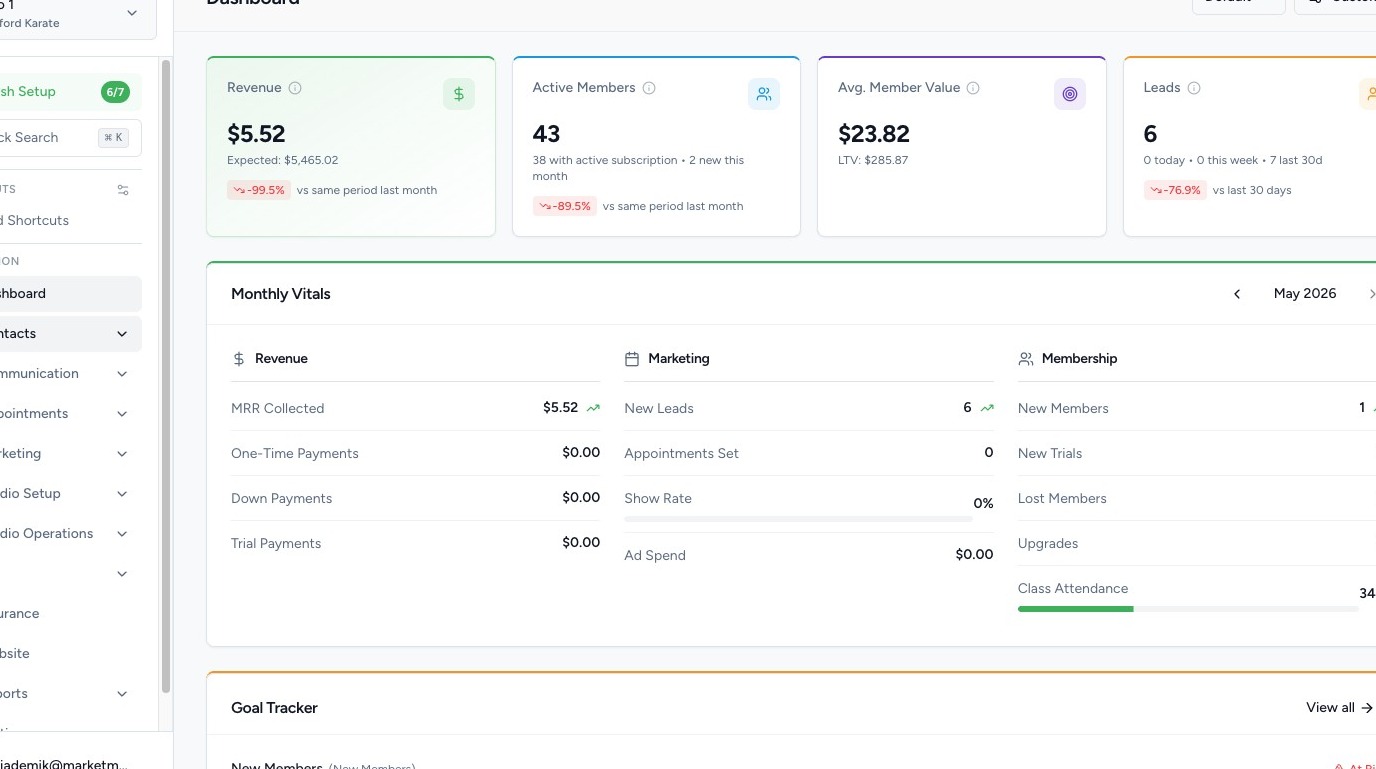
1. Navigate to your Market Muscles CRM Dashboard
2. Navigate to Smart Lists
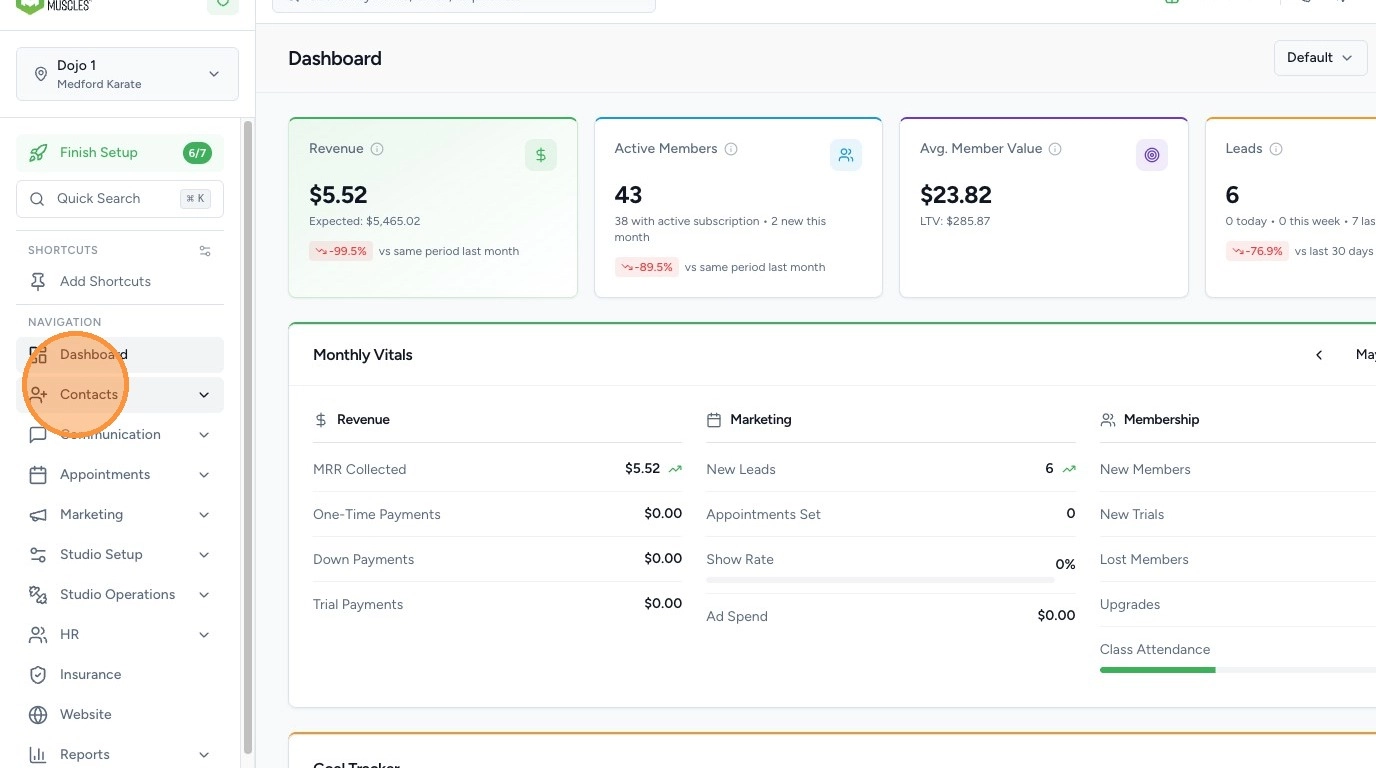
Click the Contacts tab in the left-hand navigation menu.
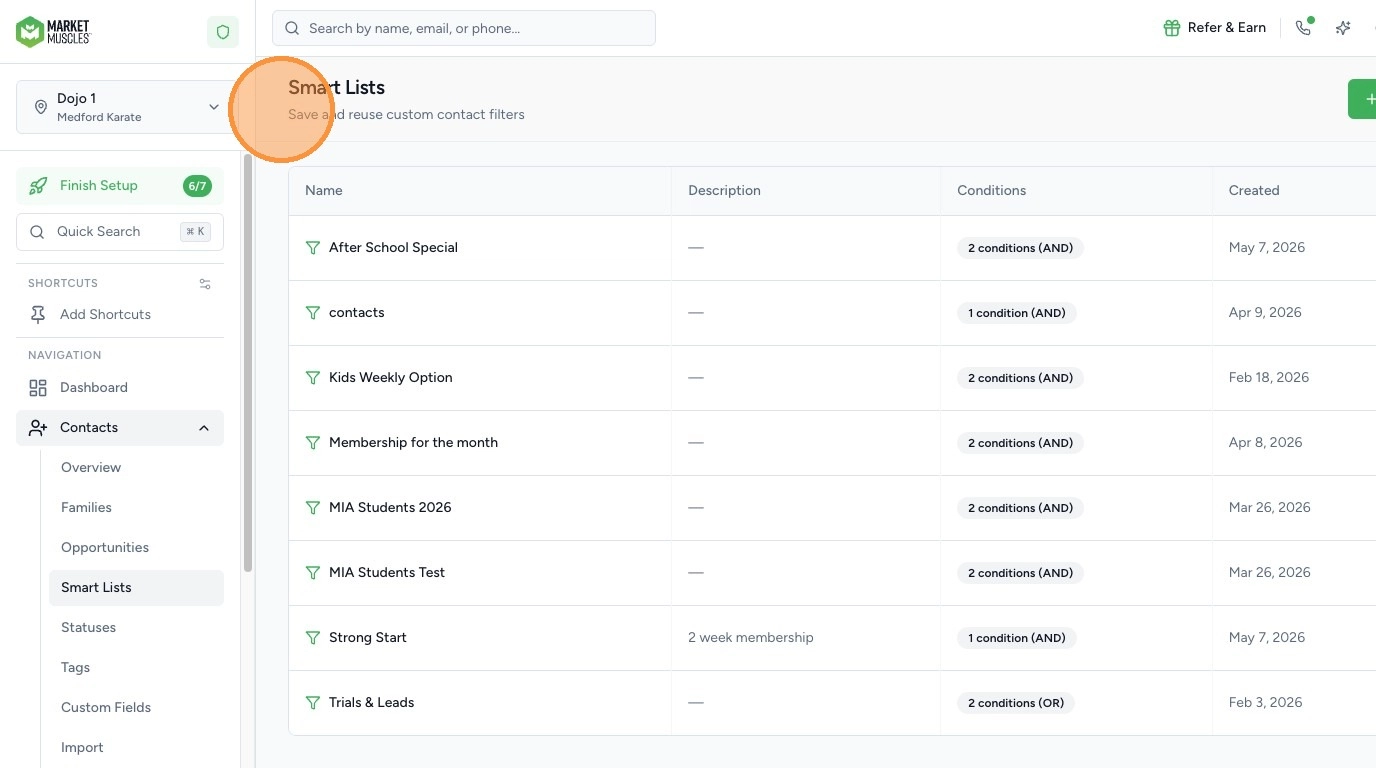
Click Smart Lists.
This section houses all Smart Lists you have created.
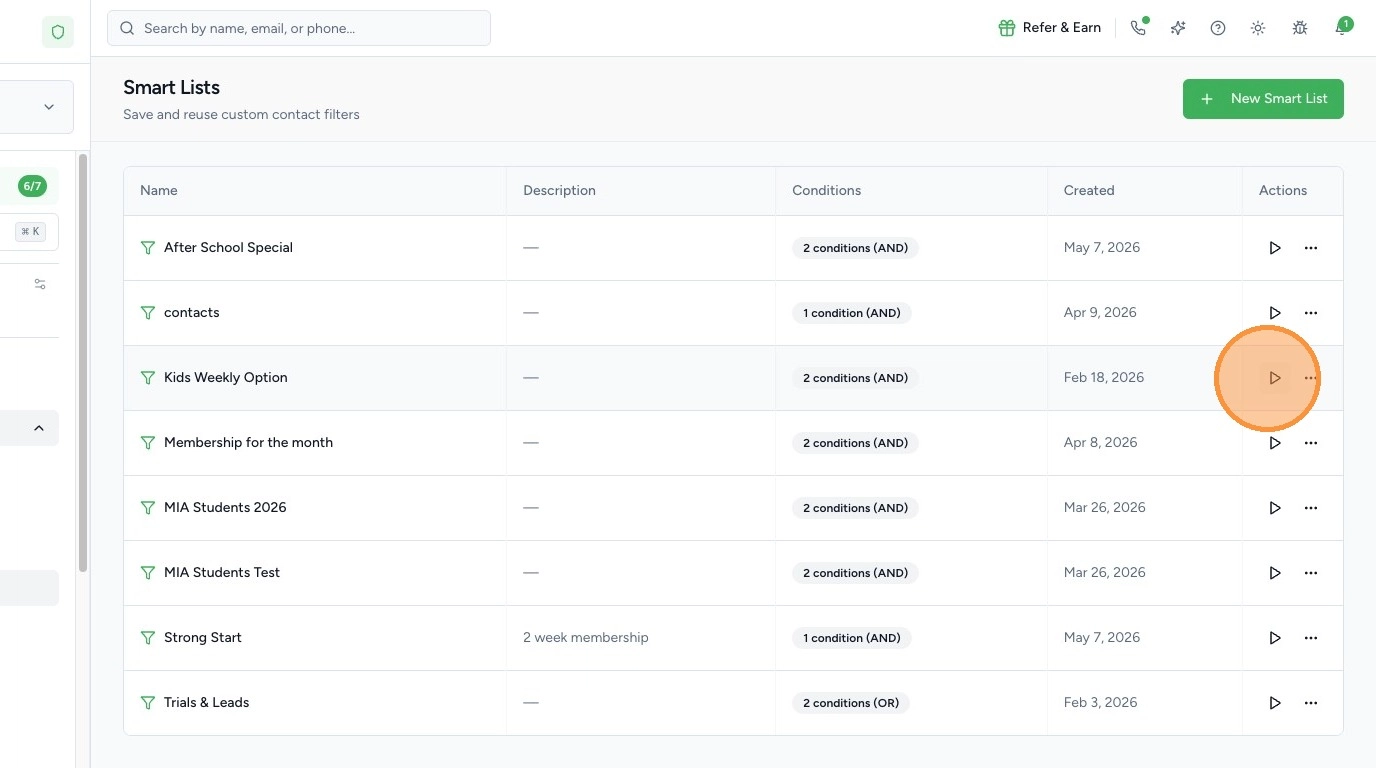
3. View Existing Smart Lists
Inside the Smart Lists section, you will see:
- A list of all previously created Smart Lists
- The ability to select and apply any list
When you click on a Smart List:
- The filtered results will open
- You will see the contacts that match the saved filter criteria
4. Edit a Smart List
You can modify an existing Smart List by:
- Clicking into the list
- Adjusting the filter criteria
- Saving the updates
This allows you to refine your targeting over time.
5. Create a New Smart List
To create a new Smart List:
Click Create New Smart List.
Then:
- Enter a Name for the list
- Apply the desired Filters
- Filter by membership
- Status
- Attendance
- Tags
- Or any other available criteria
Once your filters are set, click Create to save the Smart List.
The list will now appear in your Smart Lists section for future use.

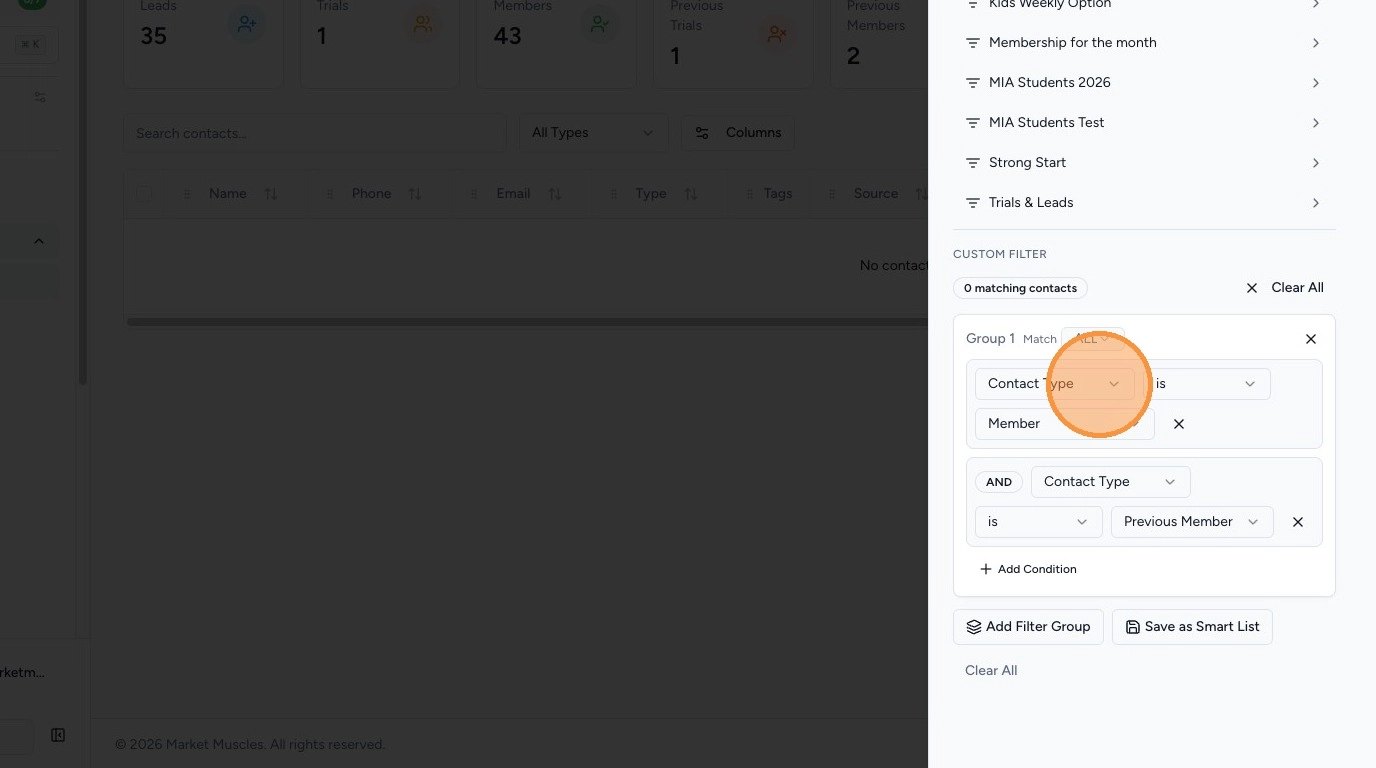
6. How Smart Lists Connect to Filters
Smart Lists are created using the same filtering system available in the Overview section.
The difference is:
- Filters in Overview are temporary
- Smart Lists are saved and stored in the Smart Lists section for ongoing use