
Contacts: Overview
Contacts: Overview
The Contacts section is where you manage every person connected to your studio — learn how to efficiently navigate your contact database, apply filters, and add new entries to your CRM. This guide helps you streamline lead management and maintain organized member records. In this guide, we'll walk through the Contacts Overview page and explain how to use it effectively.
1. Navigate to your Market Muscles CRM Dashboard
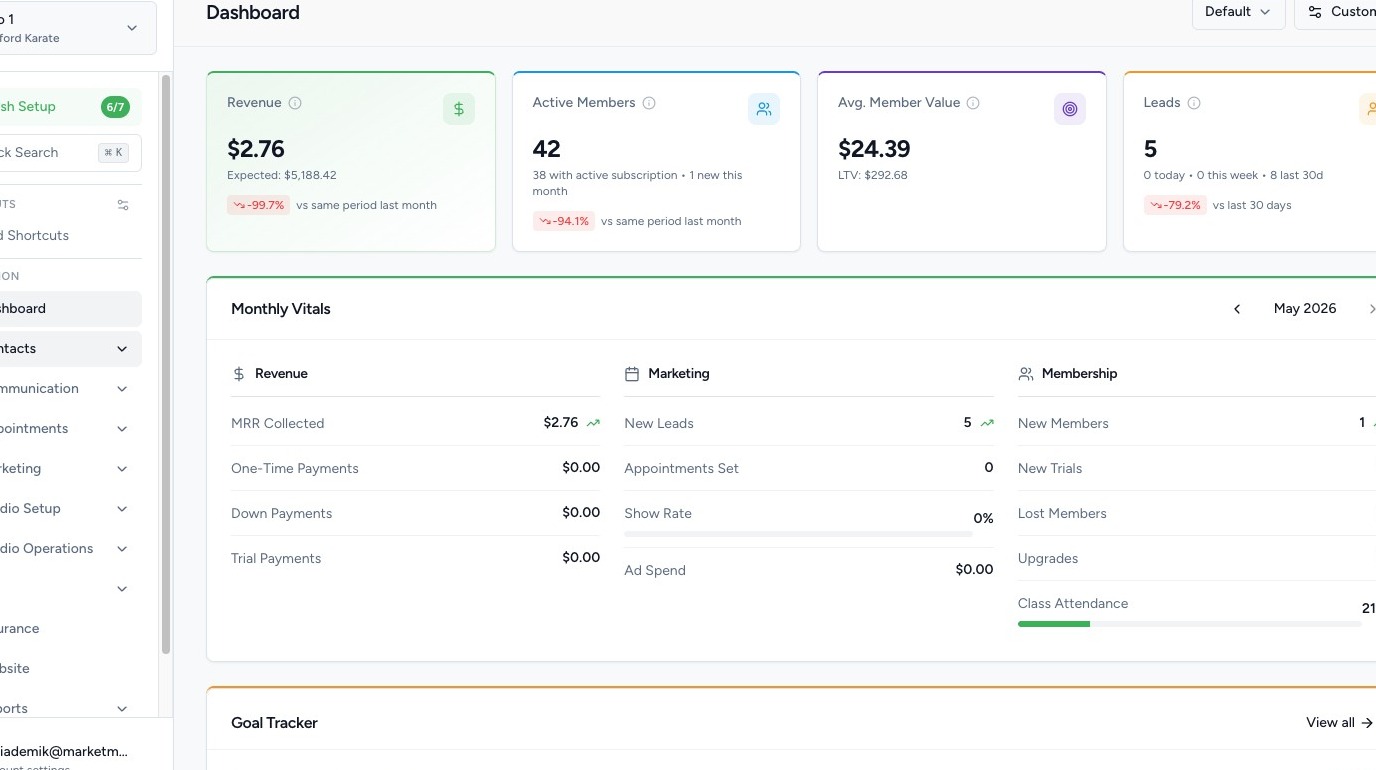
2. Navigate to Contacts Overview
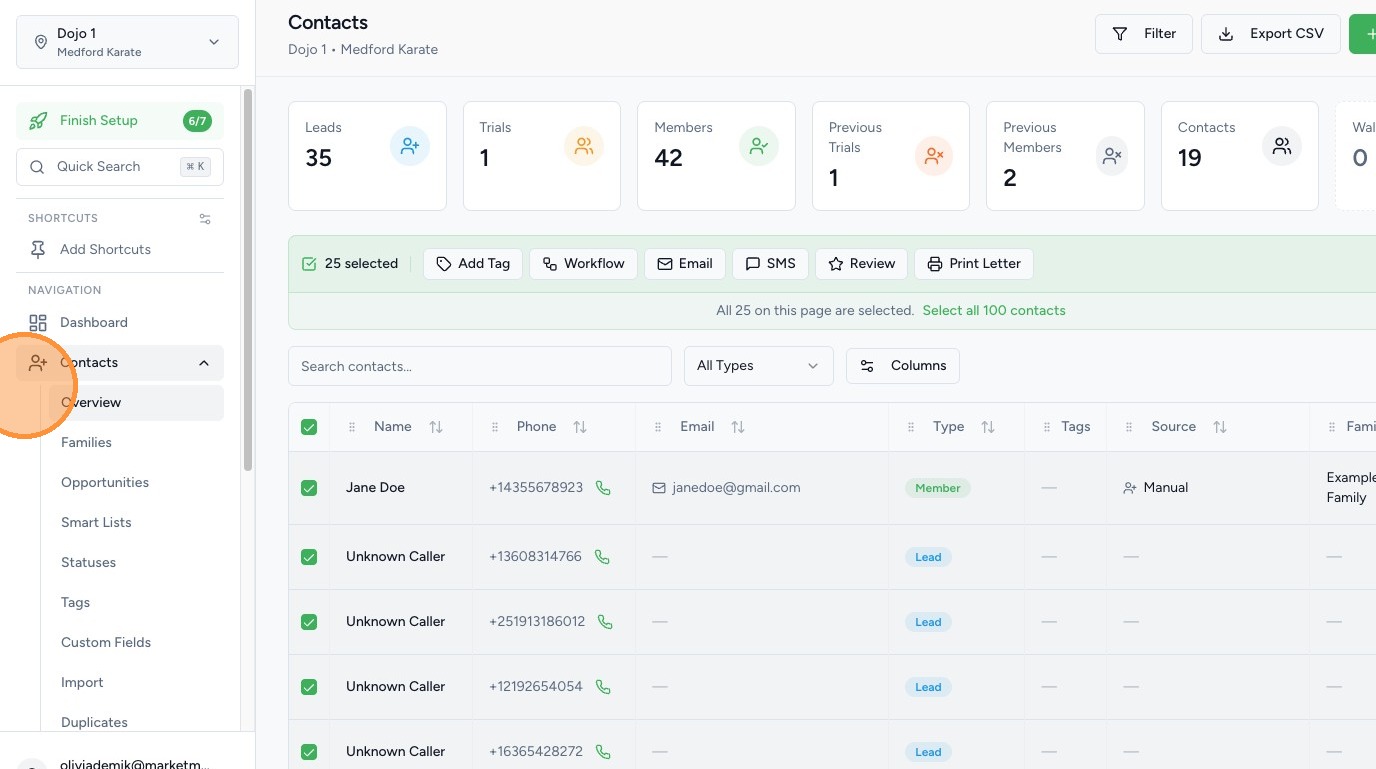
Click Contacts in the left-hand navigation menu, then select Overview. This opens the main contact management table where you can view, search, filter, and manage all of your contacts in one place.

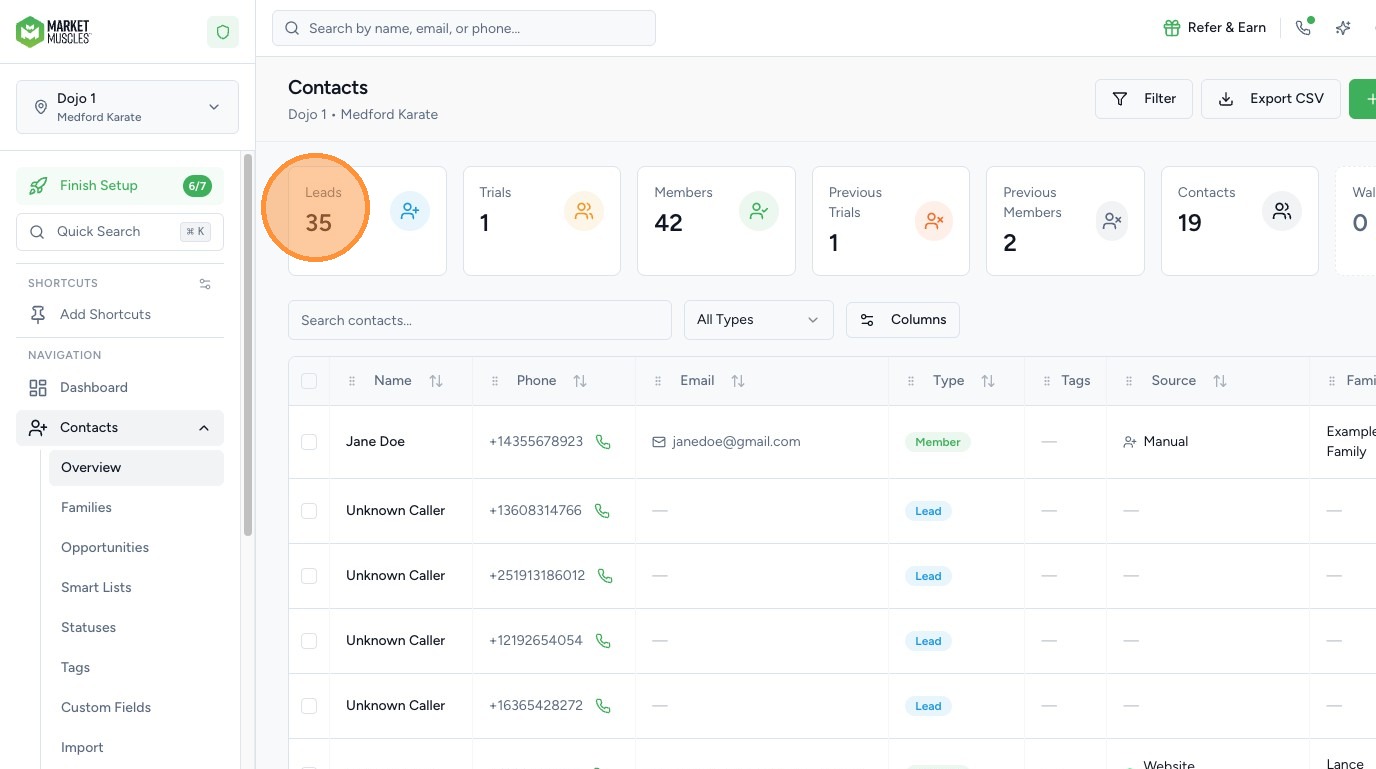
3. Understand the Contact Summary Bar
At the top of the page, you'll see a summary bar displaying counts for each contact type:
- Leads — prospective students who haven't started a trial or membership yet
- Trials — contacts currently in a trial period
- Members — active paying members
- Previous Trials — contacts whose trial has ended without converting
- Previous Members — contacts who had a membership but are no longer active
- Contacts — general contacts not categorized as leads or members
- Walk-ins — contacts tagged as walk-in visitors
Click on any contact type to filter the table to show only that category.
4. Search and Filter Contacts
Use the Search contacts field at the top of the table to find a specific contact by name, email, or phone number.
Click the Filter button to apply advanced filters such as contact type, tags, source, membership status, date added, and custom fields. Filters can be combined to create targeted views of your contact list.

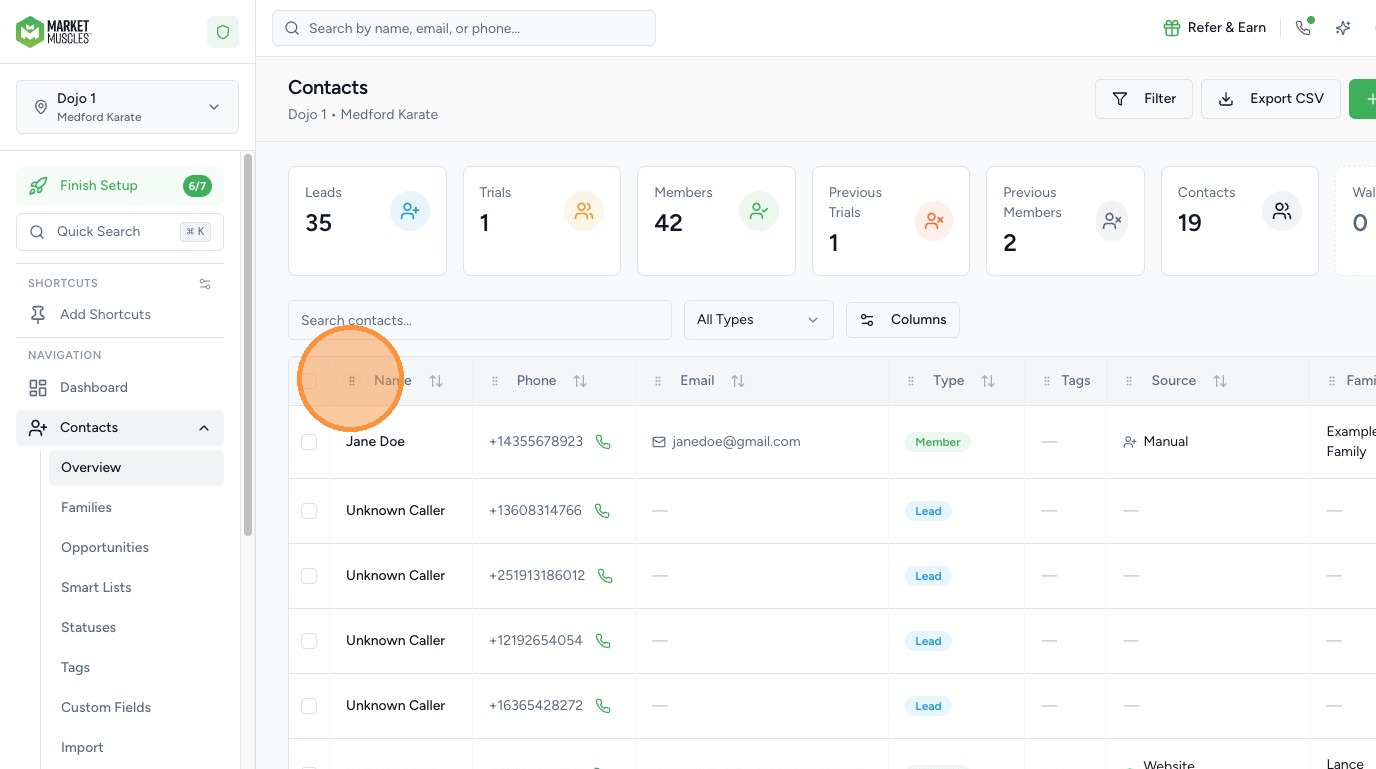
5. Review the Contact Table
The contact table displays key information in customizable columns:
- Name — click to open the full contact profile
- Type — Lead, Trial, Member, Contact, etc.
- Tags — labels assigned to the contact for organization
- Email — primary email address
- Phone — primary phone number
- Source — how the contact was added (Website, Manual, Enrollment, Tablet Kiosk, etc.)
- Family — the family group the contact belongs to
- Membership — current active membership name
Click the Columns button to customize which columns are visible and rearrange their order.
6. Add a New Contact

Click the + Add Contact button in the top-right corner to manually create a new contact record. Fill in the required information (name, email, phone) and assign a contact type, source, and any relevant tags.
7. Export Your Contacts
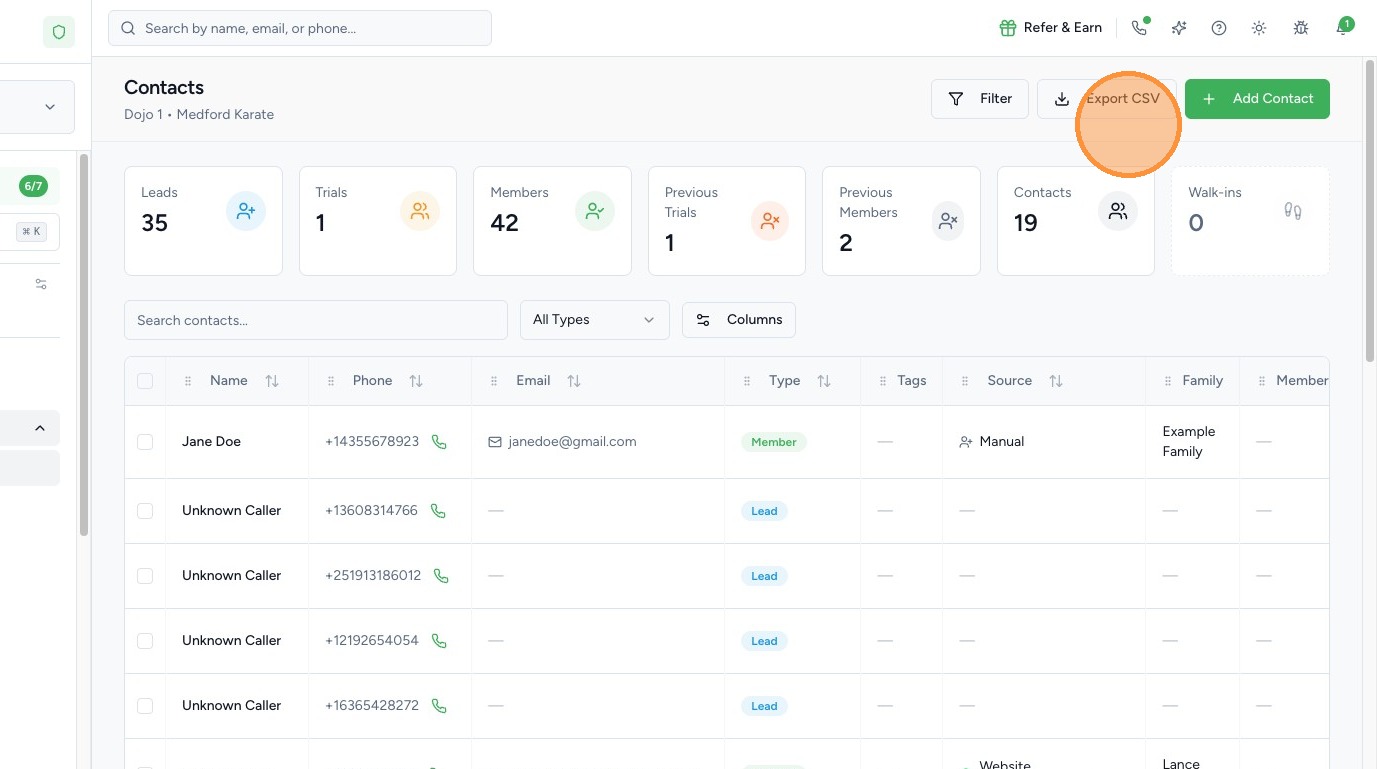
Click the Export CSV button to download your contact list as a CSV file. This is useful for creating backups, sharing contact lists with team members, or analyzing data in spreadsheet applications.
8. Perform Bulk Actions
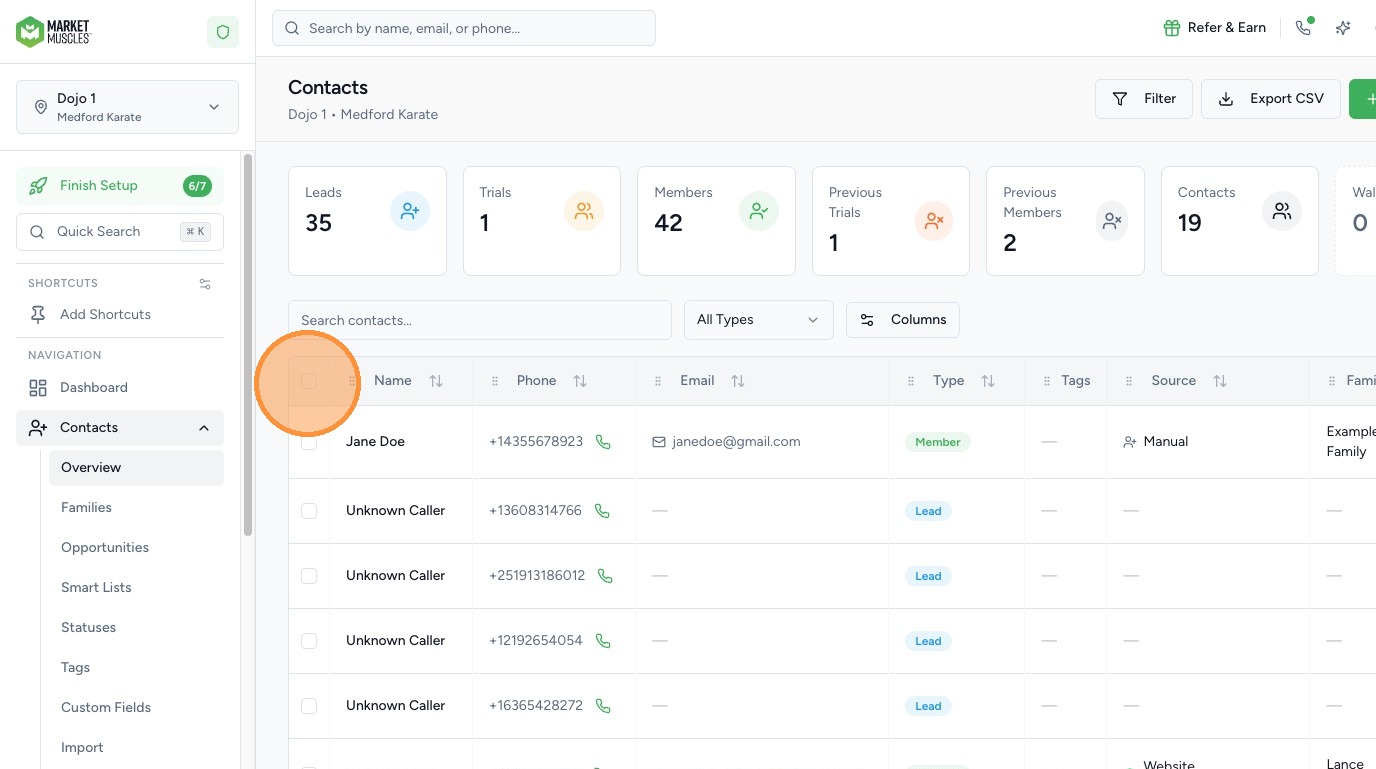
Use the checkbox on the left side of each row to select individual contacts, or click Select All to select the entire page. With contacts selected, you can perform bulk actions such as assigning or removing tags, changing contact type or status, enrolling contacts into workflows, or sending bulk messages.
9. Related Sections
From the Contacts menu in the sidebar, you can also access:
- Families — group related contacts into family units
- Opportunities — track sales pipeline and deal stages
- Smart Lists — create dynamic contact lists based on saved filter criteria
- Statuses — manage and customize contact lifecycle stages
- Tags — organize contacts with custom labels
- Custom Fields — add custom data fields to contact profiles
- Import — bulk-import contacts from a CSV file
- Duplicate Contacts — find and merge duplicate contact records
10. Use the Last Payment Column and Filter
Track how recently each contact last paid without opening their profile.
- Open Contacts, then Overview
- Click the Columns button and enable the Last Payment column, which shows the date of each contact's most recent payment
- Use the Last Payment filter to narrow the list, for example to contacts who have not paid in a set number of days
This is a fast way to spot members whose billing may have lapsed.
11. Review Filtered Leads
The Filtered Leads section holds contacts that were caught by the spam filter on your forms. If someone fills out a form but is held back as suspected spam, you can recover them here.
- In the Contacts menu, click Filtered Leads
- Review the list of blocked submissions
- For any that are real leads, click Not Spam to create the contact and move them into your regular lead flow
12. Add a Contact Photo
Add a photo to a contact's profile so it shows at avatar size across the app.
- Open the contact's profile
- Click Add Photo, or click the avatar
- Upload an image, or use your webcam to capture one
- On a phone or tablet, you can switch between the front and rear camera before capturing
The photo is then used wherever the contact's avatar appears.
If you have any questions about these contact features, please reach out to the Market Muscles Support Team.