Step 1 - Integrate Apps
Stripe
Connecting your Stripe account is the most important first step to start collecting payments through Market Muscles CRM. This guide will walk you through exactly how to do it — whether you already have a Stripe account or need to create one.
Part 1: Create a Free Stripe Account (if you don't already have one)
- Go to www.stripe.com
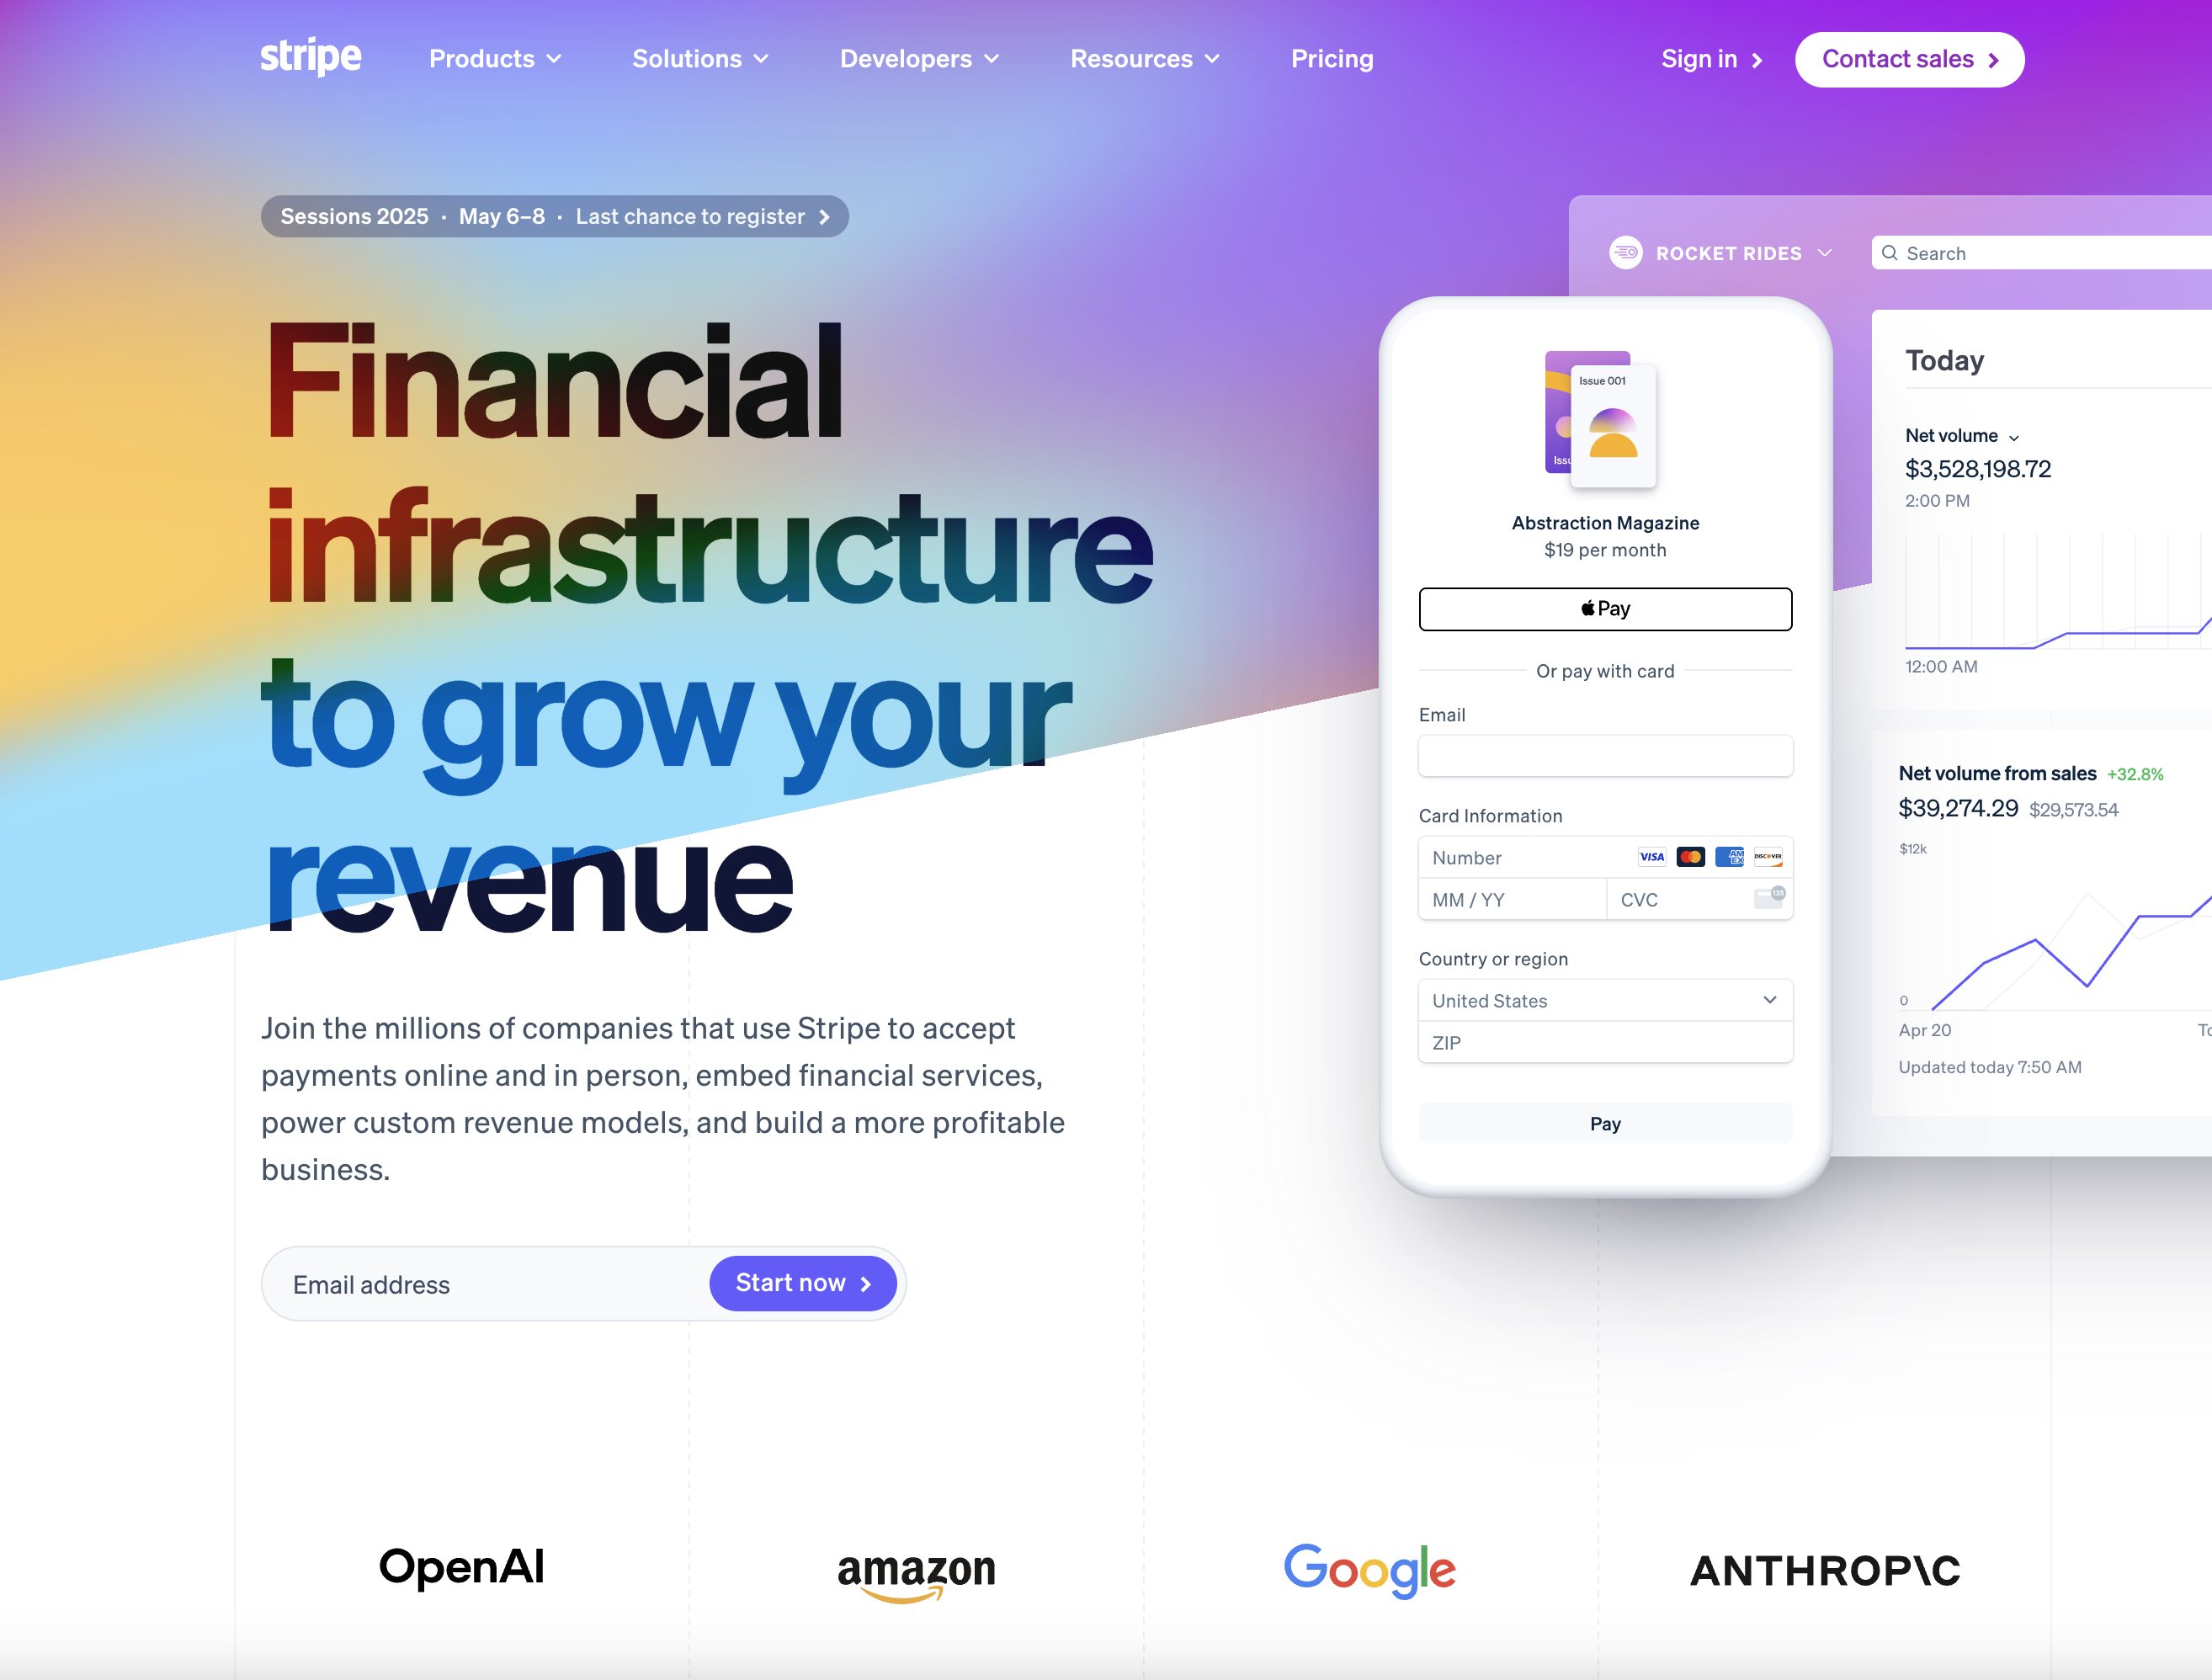
- Enter your email address and click “Start now”

- Follow Stripe’s onboarding steps to:
- Verify your email address
- Enter business details (e.g. LLC, sole proprietor, etc.)
- Connect your bank account (for payouts)
- Confirm identity and tax information


Note: This process usually takes just a few minutes. Stripe will guide you step-by-step — and it’s completely free.
Part 2: Connect Stripe to Your Market Muscles CRM Account
Once your Stripe account is ready, you can integrate it into your CRM:
- Log into your Market Muscles CRM account.

- On the bottom-left corner, click on Settings ⚙️.

- From the left-side menu, click Apps.

- Find Stripe in the list of available integrations and click View Integration.

- Click the “Install App” button.


Part 3: Authorize the Connection
After clicking "Install App":
- You’ll be redirected to Stripe’s login page.
- Enter your Stripe credentials and log in.
- Follow the prompts to authorize Market Muscles CRM to access your Stripe account.
- Once complete, you’ll be redirected back to the CRM — integration complete!
You’re now ready to accept payments, create subscriptions, and manage billing directly from your CRM. This integration unlocks powerful tools for automating tuition, memberships, trial offers, and more.
Part 1: Connect Google to Your Market Muscles CRM Account
- Log into your Market Muscles CRM account.
- On the bottom-left corner, click on Settings ⚙️.
- From the left-side menu, click Apps.
- Find Google in the list of available integrations.
- Click View Integration.
- Click the “Install App” button.
Part 2: Authorize the Connection
After clicking "Install App":
- You’ll be redirected to Google’s login page.
- Enter your Google credentials and log in.
- Follow the prompts to authorize Market Muscles CRM to access your Google account.
- Once complete, you’ll be redirected back to the CRM.
- Lastly, choose your Google Business from the drop down and save your integration.
Part 1: Connect Facebook to Your Market Muscles CRM Account
- Log into your Market Muscles CRM account.
- On the bottom-left corner, click on Settings ⚙️.
- From the left-side menu, click Apps.
- Find Facebook in the list of available integrations.
- Click View Integration.
- Click the “Install App” button.
Part 2: Authorize the Connection
After clicking "Install App":
- You’ll be redirected to Facebook’s login page.
- Enter your Facebook credentials and log in.
- Follow the prompts to authorize Market Muscles CRM to access your Facebook account.
- Once complete, you’ll be redirected back to the CRM.
- Choose your Facebook Business Page from the drop down to integrate your Facebook reviews with Market Muscles.
- Lastly, if you have a Facebook ad account, select it to view ad statistics directly in Market Muscles CRM.